

How to Make a Recycled T-Shirt Bracelet: Easy DIY Craft for Teens

* This post may contain affiliate links or sponsored content. *
At least once a year I “strongly encourage” my teens to purge their closets of clothes they have outgrown. Without fail the old t-shirts make up the biggest part of the pile. Many of the t-shirts can be donated, but some are worn beyond their usefulness so those lucky shirts move to the recycle pile.
A few years ago we started recycling old t-shirts. Some of our interesting recycled t-shirt projects include wall art, reusable bags, and a pet pillow.
One of my new favorite projects is a recycled t-shirt bracelet. There are several versions online, but this is our method for an easy DIY craft that teens can complete independently. It’s a fun learning to sew project or a creative gift to make for friends.

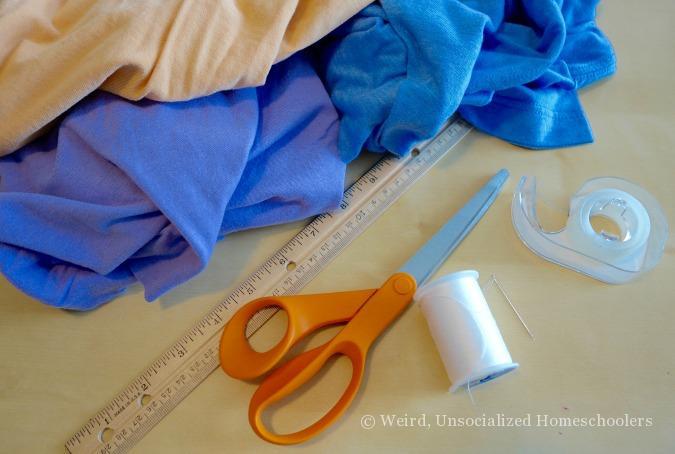
Supplies for Making a Recycled T-Shirt Bracelet
- Old t-shirt(s) – you can use 1 or more to get the colors you want in your finished bracelet
- Scissors
- Needle & thread
- Ruler
- Clipboard or Tape
How to Make a T-Shirt Bracelet
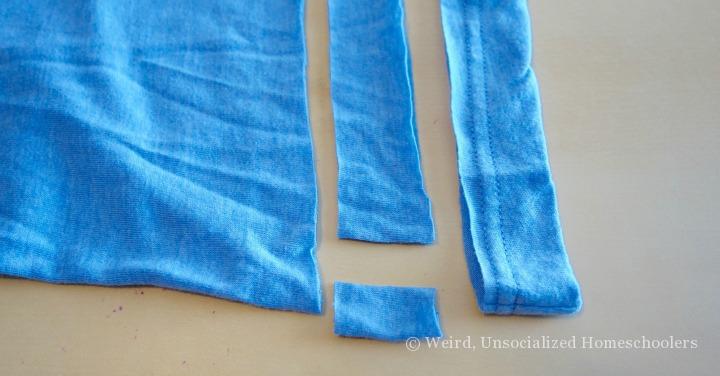
Step 1: Place the t-shirt flat on a tabletop. Cut off the bottom hem of the t-shirt and discard.
Cut a 1” wide strip from the bottom of the shirt then cut off the side seams (from both sides). This will leave you with 2 strips.
You will need 3 strips of material for the project, so cut more from the same t-shirt or cut strips from additional t-shirts.
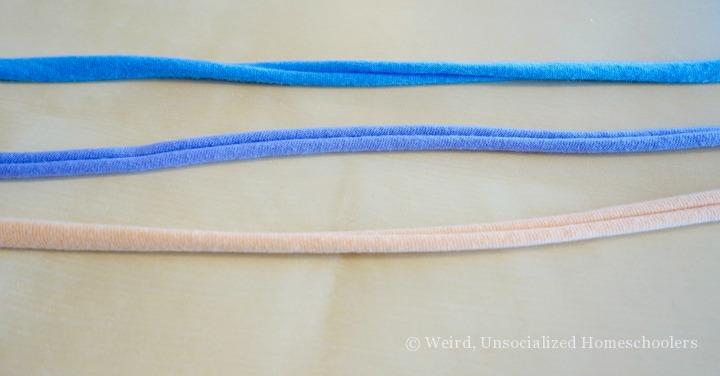
Step 2: Grab both ends of one strip of fabric and stretch so the long edges curl in together. Repeat for each strip of fabric.
This cool trick helps to hide the cut edges!
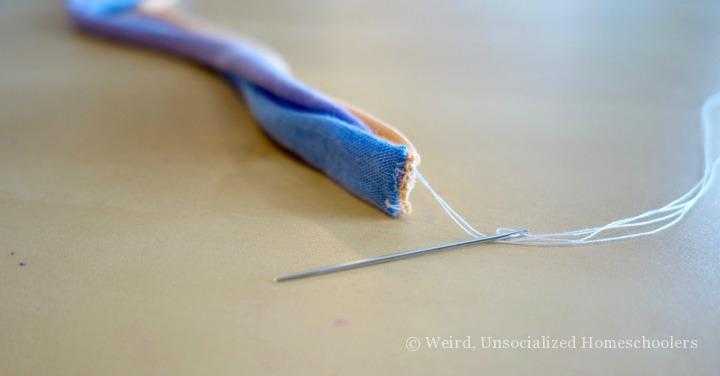
Step 3: Stack the ends of the 3 pieces of fabric on top of each other. Using the needle and thread, sew the ends together. Save yourself some effort and don’t cut the thread off, you will use it to attach the other end of the bracelet.
Step 4: Place the stitched end of the fabric under the clip of a clipboard (if you don’t have a clipboard use a small piece of tape and tape the end to your table top). This will keep the fabric still while you braid it.
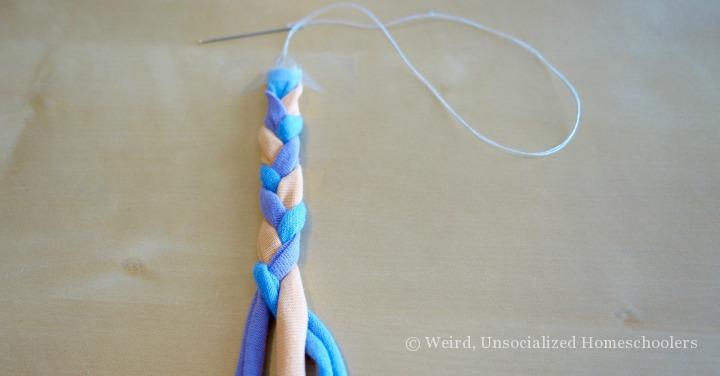
Step 5: Braid the 3 fabric strips together. Braid the entire strip and then use a piece of tape to hold the ends together temporarily.
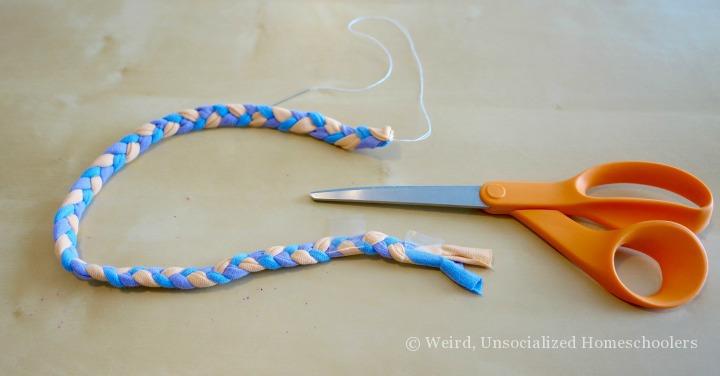
Step 6: Decide how long you want your bracelet to be. Wrap it around your wrist (once or twice for a stacked bracelet) to determine the size. It will stretch when you slide it over your hand so you don’t have to make it too much bigger than your wrist. I used another piece of tape to mark where I wanted to cut the fabric.
Step 7: Cut the fabric to the designed length.
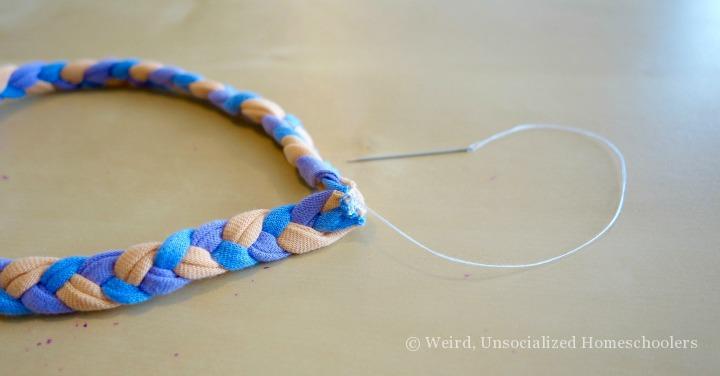
With the thread that is still attached sew the two ends of fabric together. When complete knot and cut-off the excess thread.
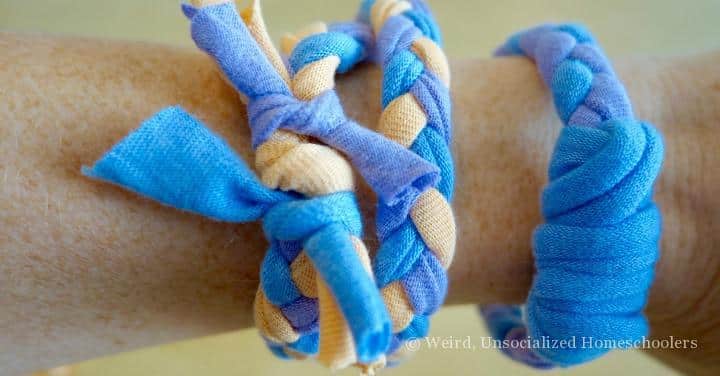
Use a piece of scrap material to cover the seam. You can be creative here – make a simple knot, wrap extra fabric, use ribbon, etc.
Options – Depending on the length of the strips of fabric you might be able to cut it in half to make two bracelets. If you leave it long you could make a wrap bracelet or a headband.
What are your favorite ways to recycle old t-shirts?
 Susan Williams is a wife, mom of two teen homeschooled boys, and a co-founder of EducationPossible, a website for sharing creative, hands-on learning activities for middle school. As a veteran educator she has taught in corporate, college, and various homeschool settings. Susan enjoys traveling with her family, sharing ideas with other moms, and helping her children explore the world around them (and as Floridians that usually includes spending time at one of their favorite worlds – Walt Disney World).
This article was written by a Weird, Unsocialized Homeschoolers guest author. See the author's full bio in the body of the post.
This is a great idea! I remember when friendship bracelets made from embroidery threads were a thing. This is so much better since it’s recycled!