How to Make a 3D Model of the Skin
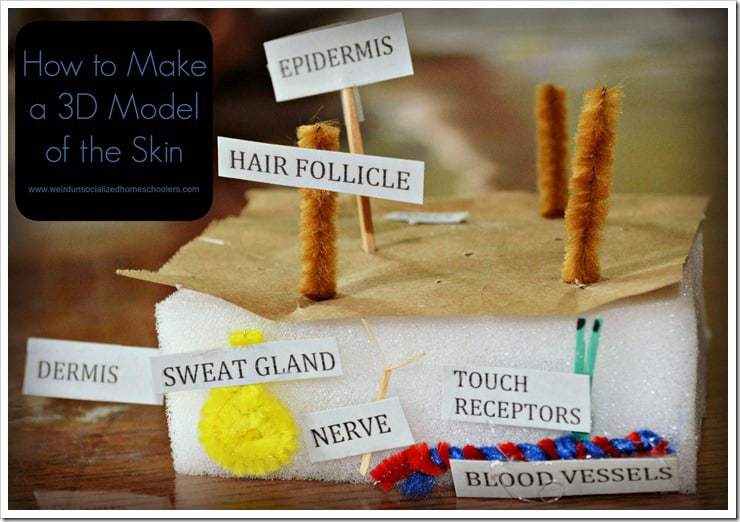
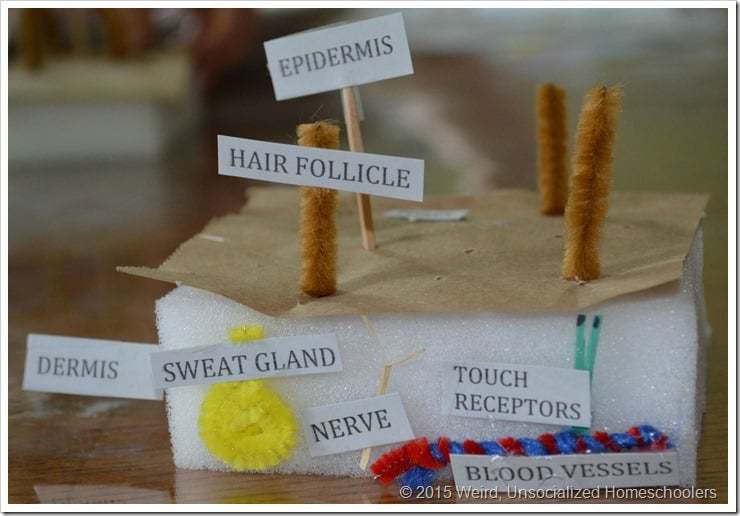
This 3D model of the skin is simple, inexpensive, and very effective in helping younger students to understand the layers of skin. Most of the items used can be obtained from around the house and you could easily substitute some with something you already have. The kids loved these models and they can be done by little as well as big hands!
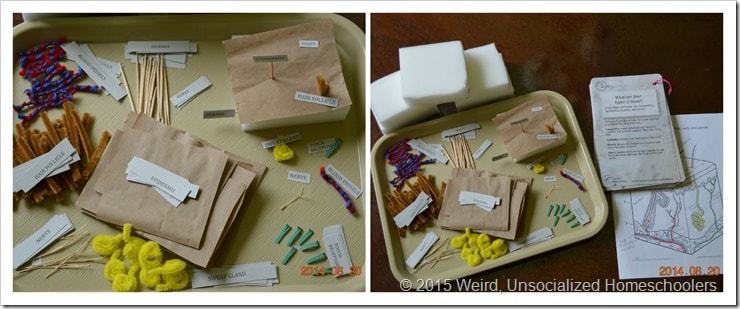
Supplies Needed for Making a 3D Model of the Skin:
- Thick sponges or foam cut into a square
- Pipe cleaners
- Rubber bands
- Raffia
- Toothpicks
- Paper lunch bag or grocery bag
- Labels – pre-made and cut
- Hot glue gun
- Scissors
How to Make a 3D Model of the Skin:
Step 1: The first thing you will do is take your sponge and cut it into a square about 5″ on each side, making sure your sponge is at least 2″ in height. If you buy the thick sponges from a dollar store, then they simply are cut in half. You can make them rectangular if you would like but I felt it made a better model being square in shape. This will be the dermis layer.
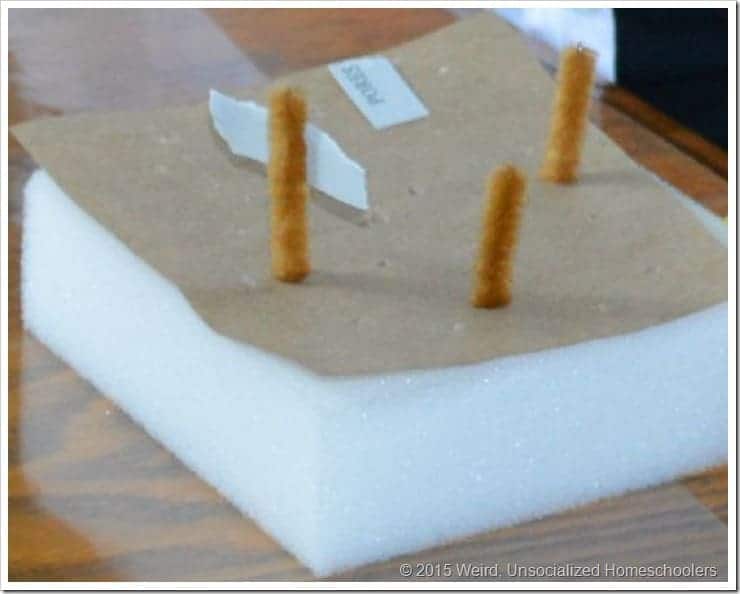
Step 2: Cut your paper bag into a single layer square that matches the size of your sponge or foam. You will lay this over top of the sponge and tack it down with glue on the center and corner edges. This will be the epidermis layer.
Step 3: Using scissors, cut the pipe cleaners into about 1″ sections. (I used brown to demonstrate the color of hair – your kids may enjoy matching the colors to their hair color.) Stick the pipe cleaners sporadically around through the paper bag side of the sponge or foam, as shown in the photo. You shouldn’t need any sort of glue if you stick them down deep enough. This will represent the hair follicles.
Step 4: The next step is to take a different colored pipe cleaner (I used yellow) and roll it around as shown in the photo to represent sweat glands. Hot glue it to the side cross-section you are creating. Ours took about a 2″ section of pipe cleaner.
Step 5: Taking a blue and a red colored pipe cleaner about 2″ long, twist them together so that they resemble an intertwined vine. Next hot glue them on to the side of the sponge as well. Use the photo for reference on placement. This represents the blood vessels.
Step 6: Using a 1″ piece of raffia, take your scissors and carefully split it down the center a little ways so you can fray it. Hot glue this to the side as well. This represents the nerves.
Step 7: Taking a 1/2″ rubber band (I used green), draw a black dot on one end with a permanent marker and then with scissors split the end just a little bit and pull the split apart a little. Hot glue this to your side cross section. This represents the touch receptor.
Step 8: Taking a toothpick, go around the top layer of the paper bag covering and make additional holes all around the bag. These will represent pores for the skin’s epidermis.
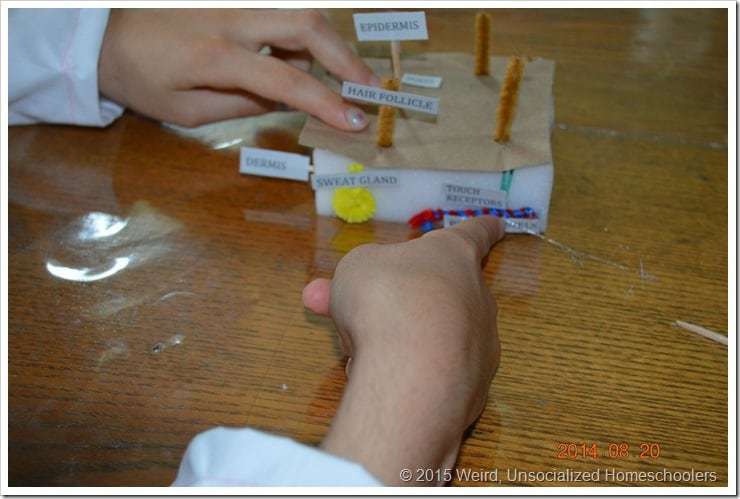
Step 9: Lastly, using toothpicks where needed, hot glue the labels on and place them accordingly. The cross section items should be able to have the labels hot-glued directly onto them. Use the photos for reference on placement and labeling.
When you are done, you will have a very nice looking 3D cross-section of skin!
 Colleen Leonard can be found at Solagratiamom where she blogs about her classical education adventures with a creative twist! When she isn’t coming up with whacky fun experiments or history dress up ideas for kids, she is advocating for children with special needs in her local community and government. She has been married to her love for 20 years and has two adopted children she adores. A previous sales and marketing professional, her passion is creating visual and tangible ways for children to learn and marveling at our great God on nature walks! She has been homeschooling since 2004.
This article was written by a Weird, Unsocialized Homeschoolers guest author. See the author's full bio in the body of the post.


That is fabulous! So creative. I love how you represent so many parts within the layers of skin.
This is great hands on project! I remember doing something similar with the cell and creating all the parts with different candies. Thanks for sharing your project.
I love this. I shared it on my google + and will be doing this when we learn about skin. This is such a great way to get children to really remember the parts of the skin and it is such a hands on activity. Thanks for sharing…… These types of project just remind me of how awesome our God is. He planned and created us so well…… Thank you Jesus for skin. 🙂