

How to Make a Simple Rain Stick

* This post may contain affiliate links or sponsored content. *

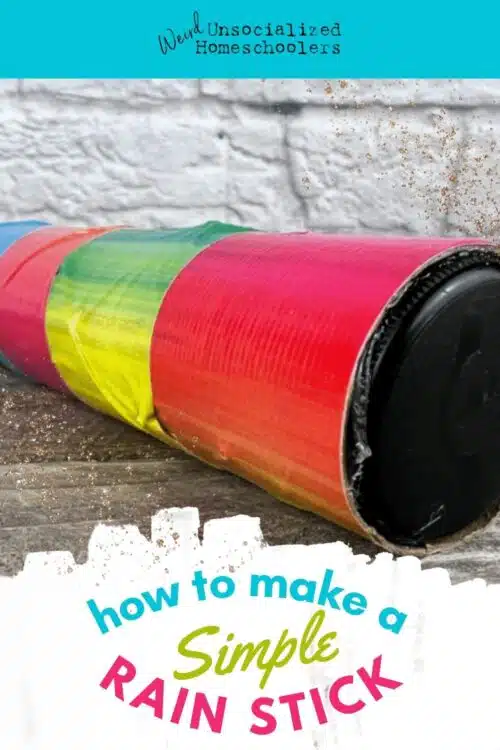
A simple rain stick makes an easy and versatile do-it-yourself project for kids whether they’re learning about Native South American cultures, musical instruments, or even the weather!
What Is a Rain Stick?
A rain stick is a percussive instrument whose actual history is a bit obscure. While many people associate them with Native North Americans, evidence suggests that these instruments were used primarily by indigenous people in South and Central America. Similar instruments have even been found in ancient sites as far away as China!
The traditional musical instrument is usually made from a hollowed-out, dried plant stem such as bamboo or cactus. Then, pins or cactus spine rods are inserted in a criss-cross pattern throughout the length of the stem. Finally, the instrument is filled with pebbles, rice, or dry beans before the ends are sealed.
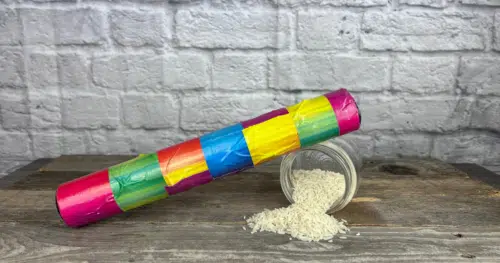
When the completed rain stick is gently turned from end to end, the pebbles cascading down the series of rods produce a sound similar to falling rain. Presumably, the instruments were used as part of a rain-making ritual or in religious ceremonies.
Whatever its actual history, geographic origin, and use, a rain stick is a peaceful-sounding instrument that’s easy to make at home. And, it’s much quieter than a homemade drum! If that’s important to you.
How to Make a Rain Stick
There are many ways to make beautiful and elaborate rain sticks. When my kids were tasked with making a homemade instrument for their homeschool music class, we chose to make an easy, DIY paper towel roll version. However, if you have creative and ambitious older kids, they could follow the same principles using a piece of bamboo and small nails to make a more sophisticated project.
You’ve probably got everything you’ll need to make a simple cardboard tube rain stick lying around your house. If not, here are some of the items you will need for this fun project:
And the simplicity of this craft means that kids ages 6 or 7 and up can do most of it themselves which makes it a fun, hands-on learning project – always a favorite at our house!
How to Make a Rain Stick
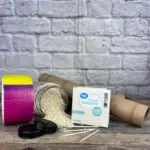
Materials
- One paper towel roll for each child
- Toothpicks
- Straight pin or push pin
- Two bottle caps for each rain stick We used the size that would go on a small sports drink bottle.
- Scissors But pruning shears work even better!
- Rice
- Duct tape
- Paper and crayons for making a cover optional
- Contact paper or clear packing tape optional
- Hot glue gun optional
Instructions
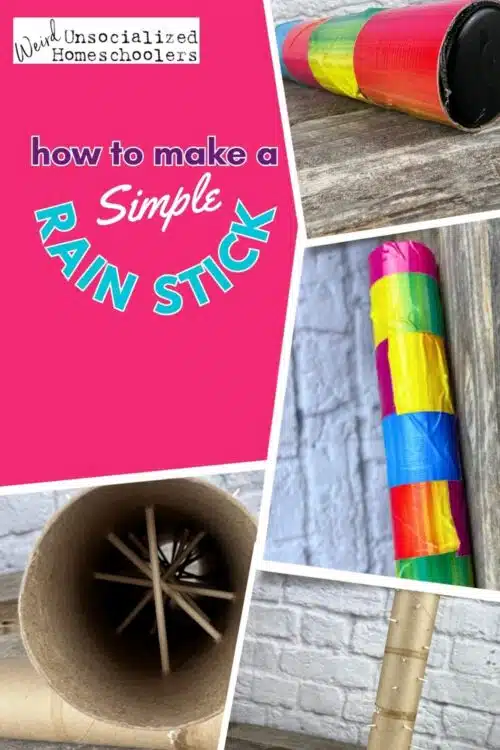
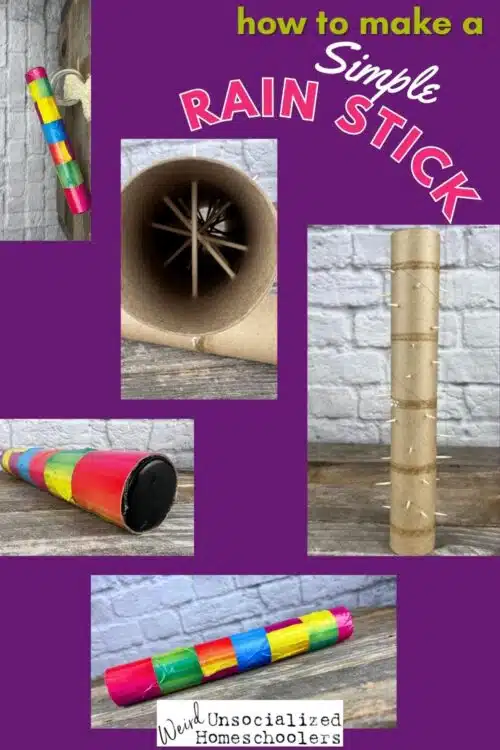
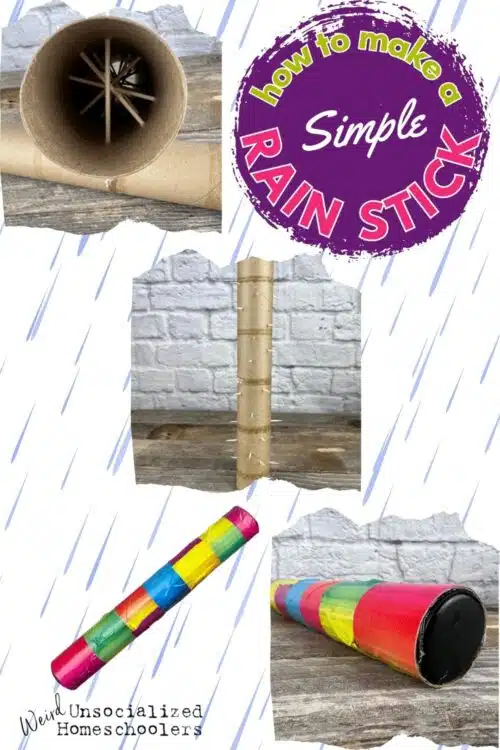
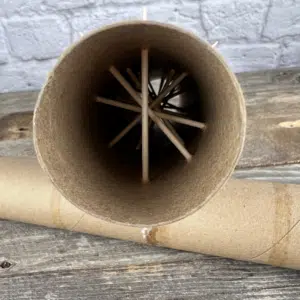
- Insert the toothpicks through the paper towel roll going in one side and out the opposite. This is where the straight pin or push pin comes in handy. Using the pin to "pre-drill" the holes results in far fewer broken toothpicks and much less frustration. (Not that frustration is a problem for homeschooling parents. Everyone knows we have superhuman patience.)You want to place the toothpicks in a criss-cross fashion all the way down the paper towel roll, so that you wind up with a network of toothpicks.Shining a flashlight into the tube makes it easier to locate the hole on the opposite side. Additionally, we found it easier to create the holes for each toothpick as we went, rather than creating all the holes first.One last toothpick tip: pulling the toothpick out of the first hole and using it to go back through from the second hole makes it easier to push the picks through while keeping the holes small enough to prevent them from slipping back out.

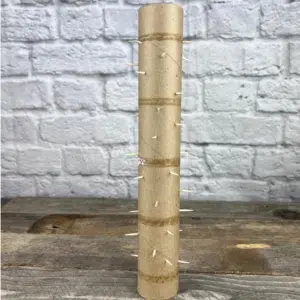
- Use the scissors to clip the outside tips off the toothpicks. Be careful! We found toothpick pieces all over the dining room, so I would assume that you could get hit in the eye with a flying toothpick. Safety glasses would not be crazy here, just in case.Later, we discovered that a pair of pruning shears cuts the toothpicks much easier than regular scissors and results in fewer projectile wood pieces. And, cutting them outside means not stepping on toothpick shards with your bare feet. Just saying.You want to cut each toothpick end as close to the tube as possible, but be careful not to squeeze the tube so that you don’t wind up cutting them too short. Toothpicks that are too short can work their way back out as you move on to the next step.
- Carefully roll the rain stick with duct tape. This keeps the toothpicks in place and prevents fingers from getting poked. It’s easier to do small strips in sections rather than trying to use a single piece of tape wound down the length of the tube. After applying each piece of tape, gently squeeze the tube so that the duct tape adheres to the ends of the toothpicks. We did have a few toothpicks that came loose inside but we were able to work them back into their holes and get them stuck to the tape. It’s helpful to check the adhesion after each strip of tape.You’ll probably want to use two layers of tape if your kids won’t be making a cover for their rain stick. Those toothpicks can be pretty pokey.For one of the two rain sticks we made, we were able to find one tube that was slightly larger than the other. We used the small one for poking the toothpicks through, then slid that tube down into the larger one. The larger tube made a great, poke-free cover.

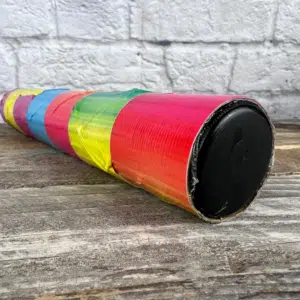
- Cap one end of your rain stick with one of the two bottle caps. You can accomplish this in one of two ways. One, gently squeeze the end of the paper towel tube to fit it inside the cap. Then, use duct tape to hold it in place. The second method will require a parent’s help. Squeeze a strip of hot glue around the outside rim of the bottle cap and place the cap inside the end of the tube. Carefully (because, you know, hot glue), press the paper towel roll to the cap to seal.Pro Tip: Leave yourself a small section of the rim without glue to hold while you insert it in the tube or you will burn yourself with hot glue. (Ask me how I know!) Once the cap is in place, you can add a bit of glue to seal that section.
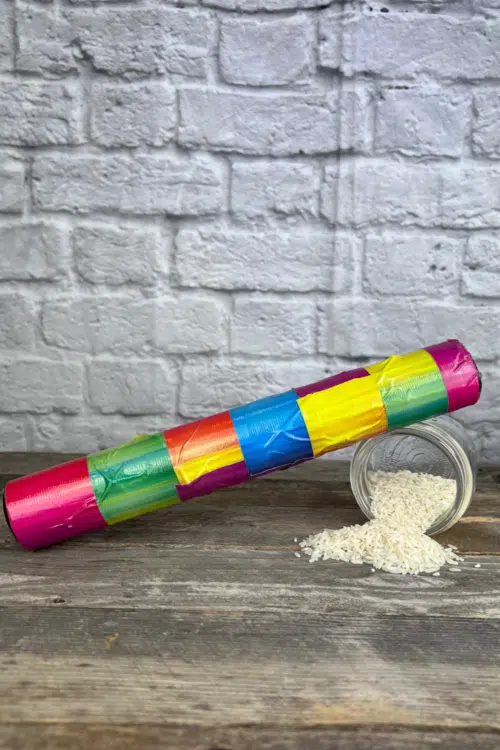
- Pour rice (or dry beans) into the tube. There's no exact measurement for this part. We wound up using 1/4 cup or so. Once you pour some rice in, you can place your hand over the uncapped end, tilt the rain stick, and listen. Just add or remove rice until you get a sound that you like.Once you’re satisfied with the sounds, cap the other end of the rain stick.
Finishing the Rain Stick Craft
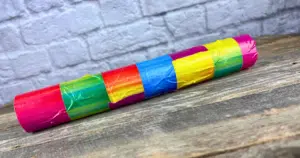
At this point, you may be finished with your craft, especially since duct tape is available in so many fun colors and designs. However, if your kids want to create a cover for their rain stick, let them get creative!
Megan wanted a cover for hers, so I had her color a design on a piece of plain white computer paper. I explained that an abstract design would work better than a detailed drawing since we were going to wrap the paper around the tube and part of whatever she colored would not be visible.
Once your child is satisfied with her design, there are a couple of easy ways to attach it to the rain stick.
One option is contact paper. I placed my daughter’s drawing face down on the adhesive side of a sheet of contact paper, leaving about an inch of extra contact paper on either side of the picture. The extra bit made it easy to stick one end to the paper towel tube. Then, we just rolled the rest of the paper around the tube using the extra adhesive at the other end to seal it.
The other option is using clear packing tape to stick your child’s cover to their rain stick. I’d suggest wrapping the entire stick to protect the paper from dirt and tears.
If you’d like a more authentic-looking rain stick while still keeping it simple with a paper towel roll, consider coloring the cover paper to look like wood. You could even attach feathers to the ends using a leather string which is available at most craft stores.
Other Uses for a Rain Stick Craft
It took us about an hour to do this project and we were all very pleased with both the appearance and sound of the completed rain sticks.
Although we made ours for the kids’ music class, keep this project in mind for other applications, such as hands-on geography, weather, history, or cultural studies. You could even make it for a punny but fun rainy day activity!
It might even spark your interest to explore geography and the countries of the world through traditional instruments related to each. An Aboriginal didgeridoo, anyone? Or an Indian sitar? Music often entices even the most reluctant learner to dive into a study of other people and places.
Or you can jump into other creative projects that are a piece of Native American history, such as making dream catchers with your kids.
If you and your kids decide to make rain sticks, please leave us a comment or post a picture on social media and tag us. We’d love to see it!
Kris Bales is a newly-retired homeschool mom and the quirky, Christ-following, painfully honest founder (and former owner) of Weird, Unsocialized Homeschoolers. She has a pretty serious addiction to sweet tea and Words with Friends. Kris and her husband of over 30 years are parents to three amazing homeschool grads. They share their home with three dogs, two cats, a ball python, a bearded dragon, and seven birds.
sounds like you are in for a weekend of noise!
*Sighing with relief* I won’t have to lug my huge rainstick around anymore! Thanks!
That is such a great idea!
I wanted to let you know that I left an award over on my blog for you. Your blog is just full of great information for homeschoolers!
What a fantastic idea! A friend is doing Native American culture with her children this year, and I will definitely share this idea with her!
Hey cool idea! My young fella used to have a wooden one but it went astray at some point…now we could actually make a new one…nifty! 🙂