Painted Paper Flower Craft
Summer homeschooling is pretty laid back around our house. We’ve finished our core curriculum, and our routine isn’t nearly as structured – allowing for more outside playtime, summer reading program participation, and other fun summer projects. It’s also a good time for to sneak in some life skills learning opportunities – like visiting the farmer’s market and planting a garden.
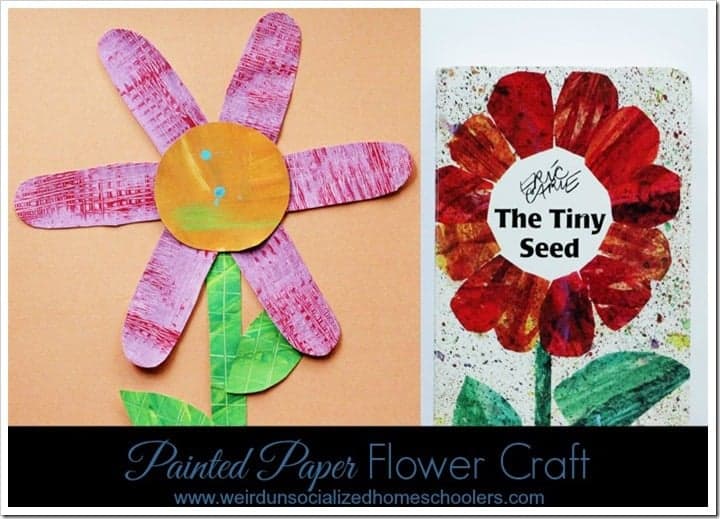
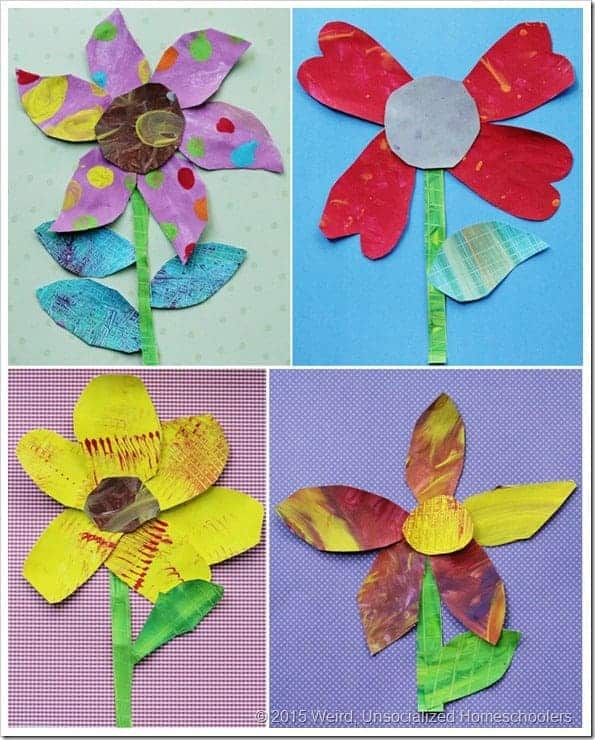
The Tiny Seed is one of my favorite books for introducing or reinforcing a plant’s life cycle and we read it every year around gardening season. This year, while reading the beloved Eric Carle tale, we were especially inspired by the painted paper collage illustrations and so we created our own painted paper flowers – based on the flower that grows from the tiny seed. Here’s how:
Painted Paper Flower Craft Supplies
- FREE Flower Parts template printable
- Painted Paper (can substitute colored cardstock or patterned paper)
- Pencils
- Scissors
- Glue
- Colored cardstock or patterned paper for background mounting (optional)
Time Required: 2 days or art sessions
Day One: Create the Painted Paper
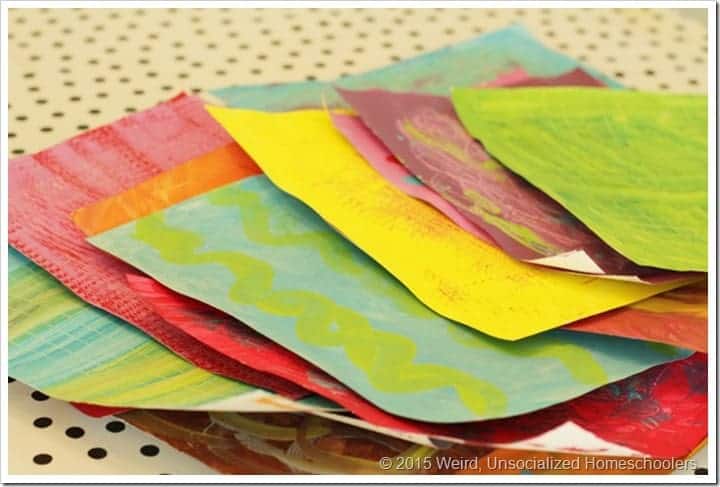
Eric Carle’s iconic painted paper collage illustrations are so fun for kids to mimic, and they begin with a day to create painted papers. If you have kids who love to paint, you may already have painted papers begging to be recycled into works of art. If not, take a day to let the kids create a stack of painted paper. It’s one art supply I bet you’ll be reaching for over, and over.
But if you’d rather skip this step, colored cardstock or patterned paper is a fun substitution for your flower craft.
Day Two: Create the Flowers
Step One: Print the Flower Parts Template Printable (printing on heavier paper works best), and cut out each shape to create a variety of flower petal and leaf shape templates.
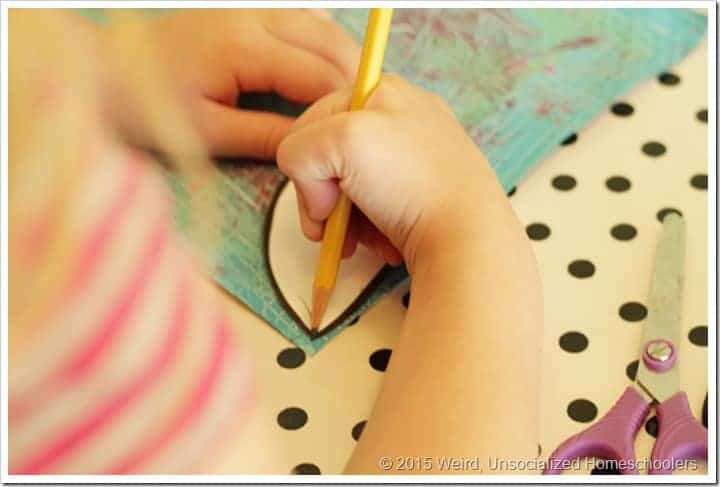
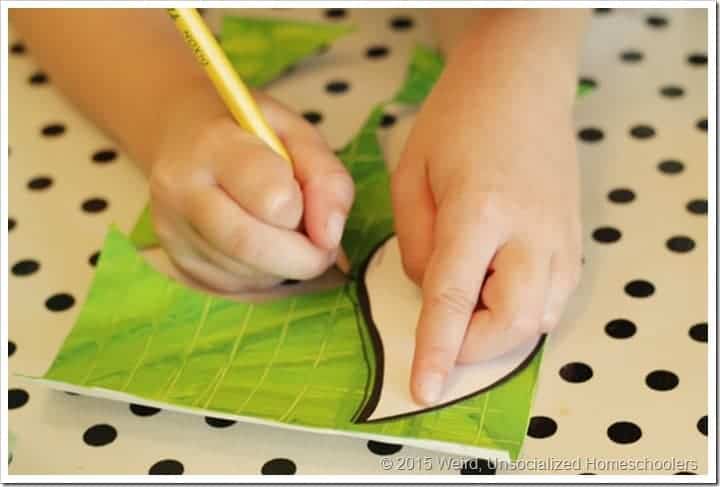
Step Two: Place the template on a piece of painted paper, and trace around several times to create the desired number of petals. If your children are young, you may need to teach them to place the template on the edge of the paper before tracing to make the best use of the paper.
{Side note: If your kids are older you could easily skip the step of creating and using a template, encouraging them to freehand the flower shapes. However, I’ve found younger kids struggle a bit, often creating the shapes too small when freehand drawing or cutting. If you choose to skip the template tracing, be sure to emphasize that the petal and leaves should be large.}
Repeat the template tracing for the flower’s center and leaves. There’s not a template piece for the stem–cutting a long strip is pretty easy for most to do on their own.
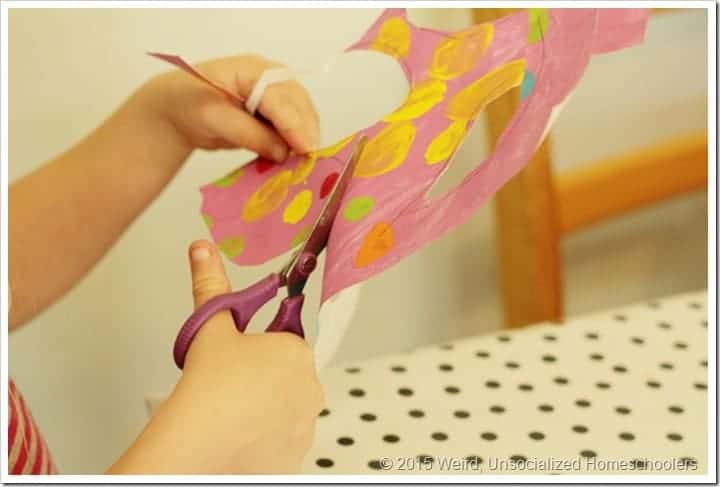
Step Three: Cut out the traced flower parts. Depending on the age and scissor skills, I try to encourage kids to cut just inside the pencil line.
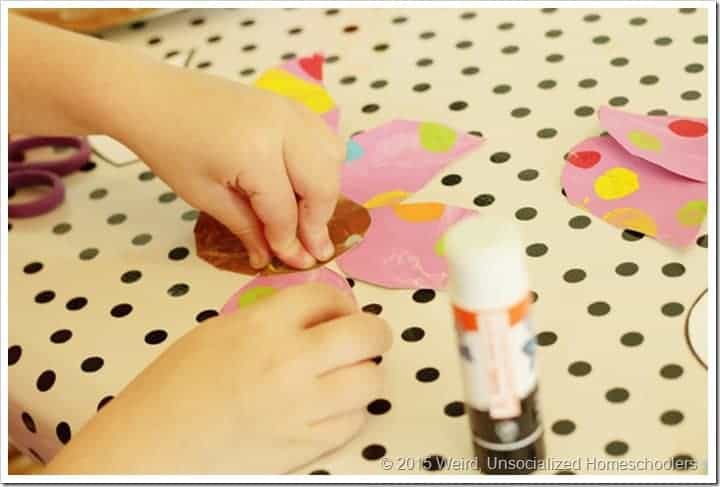
Step Four: Assemble flowers by gluing pieces together.
Step Five: Mount on card stock or patterned paper, if desired, and display!
Do you have a favorite plant or gardening-themed book or project? I’m always looking for fun ones to add our collection. Please share in the comments!

This article was written by a Weird, Unsocialized Homeschoolers guest author. See the author's full bio in the body of the post.


