


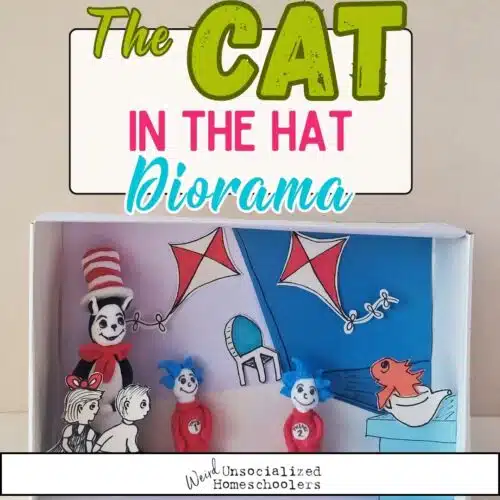
Make this Whimsical The Cat in the Hat Diorama to Celebrate Dr. Suess Day!
“The sun did not shine, it was too wet to play, so we sat in the house all that cold, cold, wet day…”
Do you remember reading The Cat in the Hat as a kid? I know I do! I also have sweet memories of reading it to both of my children. Few stories ignite the imagination across generations like this beloved classic, written by the legendary Dr. Seuss in 1957. In case it’s been a while since you read it, let me refresh your memory before introducing The Cat in the Hat diorama.
The tale begins with two bored children who aren’t prepared for the fun, mischievous Cat (in the hat) who is about to appear and create some fun and chaos in their day. The Cat in the Hat is one of those classic stories that helps so many children learn to read (and equally as important, learn to love reading!)
In honor of this wonderful book, and Dr. Suess Day on March 2nd, we’re sharing how you can make this very Suess-y and whimsical The Cat in the Hat diorama in your homeschool! (And a few other Suess-y learning ideas!)
This blog post is part of a literary diorama series that we’ll be sharing here on Weird Unsocialized Homeschoolers each month, featuring a fun, new literary creation you can make in your homeschool.
You might be wondering: “Why dioramas?”
These kinds of engaging, creative, hands-on projects are great for getting kids invested in learning, as they carefully create a visual representation of what the child has learned. It’s also multi-sensory, which makes it great for engaging different types of learners at the same time. There are also jobs for different levels of fine motor skills here, which can make it good to divide among kids of different ages and levels for a team-building activity.
And when you’re done, you have a wonderful memory that can be displayed in your child(ren)’s room or homeschool area. The Cat in the Hat diorama would be great to display throughout March, which is dubbed National Reading Month (so named in honor of Dr. Suess and his March 2nd birthday!)
Some Reasons We Love Dr. Suess & The Cat in the Hat
Almost 70 years after its original publication, The Cat in the Hat continues to be one of the most popular early readers today. Even though this book is an “early reader,” meaning it uses simple words that are easily decoded by beginners, it’s far from dull (just like the Cat in the story!)
In fact, one of Dr. Suess’ main goals in writing The Cat in the Hat was to create an engaging, fun alternative to early readers of the time (think school primers like “Dick and Jane.”) He certainly succeeded! Dr. Suess’ whimsical stories, settings, and characters still stand out today, as do his smile-invoking rhymes and his use of universal themes that even adults can appreciate.


Ways to Take This Study Further in Your Home
Before we get into the specifics of crafting our The Cat in the Hat diorama, consider these enriching activities to deepen your family’s engagement with “The Cat in the Hat:”
Create Learning Opportunities for Older Learners
While young kids already enjoy Dr. Suess, and there are some great activities for families, too, we didn’t want to forget those older kids! There are several ways to involve your older in a Seussical celebration of “The Cat in the Hat” with these more advanced activities:
1. Retell the Story in a Different Narrative Style:
Challenge your older children to retell this poetic story as prose, from another perspective, or in a different genre. For example, they could rewrite the story from the fish’s point of view, or reimagine “The Cat in the Hat,” as a sci-fi, mystery, or action-adventure story. Discuss how changing the narrative style impacts the story’s tone and message.
2. Explore Rhyme and Rhythm:
Have your older children list the rhyming words found throughout the book. Then, using some of the same rhymes and rhyming scheme, have them create their own stories or poems. This challenge not only reinforces their understanding of rhymes but also encourages creative writing skills.
3. Deep Dive into Themes:
Engage your older children in discussions about the book’s themes, such as responsibility, the balance between chaos and order, and the power of imagination. Challenge them to formulate a thesis statement on one of these themes and write a short essay on The Cat in the Hat. This activity promotes critical thinking and analytical skills. It’s also great practice for more academic writing!
4. Research Dr. Seuss’s Impact on Literature:
Older learners can also research Dr. Seuss’s influence on children’s literature and early reading education. They can present their findings through a presentation, poster, or report.
By incorporating these activities into a Suess-y, mini unit, you can create a rich, hands-on learning experience around The Cat in the Hat that caters to the entire family. Whether through crafting, cooking, performing, or writing, these ideas can help bring Dr. Seuss’s world to life in your home! The instructions for crafting your whimsical, Cat in the Hat Diorama are below!
The Cat in the Hat Diorama How-To
List of Supplies


Instructions:
Step 1:
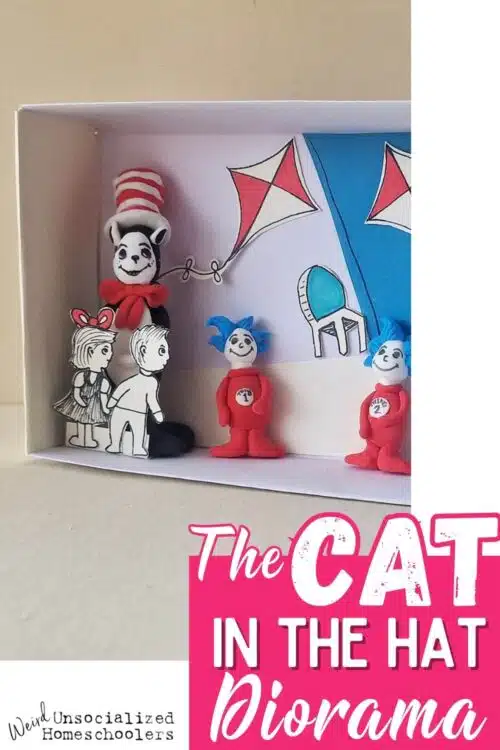
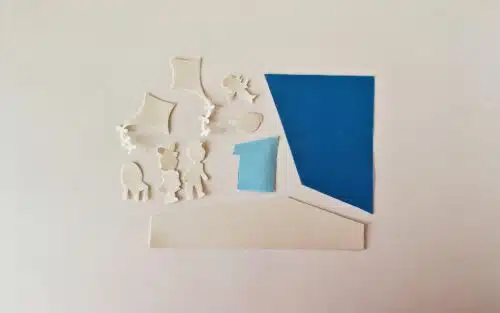
Use the Cat in the Hat Diorama Template to recreate the scene you see above. (Or, you can just use part of the template we’ve provided and create another scene from your favorite pages of the book!) The included template shapes are a boy, a girl, a fish, a teapot, a table, a chair, and kites. Carefully cut out whichever shapes you decide to use, then trace them onto the cardstock of your choice.
I cut out most of the shapes in white cardstock. I used dark blue card stock for the larger geometric shape and light blue for the smaller geometric shape. These will be the background wall and front table, so it’s nice for the color to “pop” a bit.
Step 2:
Once you have your shapes cut out, you’ll start by making the background “room” of your diorama. You’ll first want to line the inside of your box with white paper. 5″ x 7″ is the size box used here, but you can make another size work, too!
Step 3:
Next, you’ll glue in a couple of the larger shapes found in the Cat in the Hat Diorama Template. This will create the background. You’ll start by gluing down the blue, geometric cardstock to create the background wall, as shown.
Step 4:
Then you’ll glue down the long, white piece to create the floor. I love how this instantly creates a cool, visual effect and literally “sets the stage,” for the Cat in the Hat diorama!
Step 5:
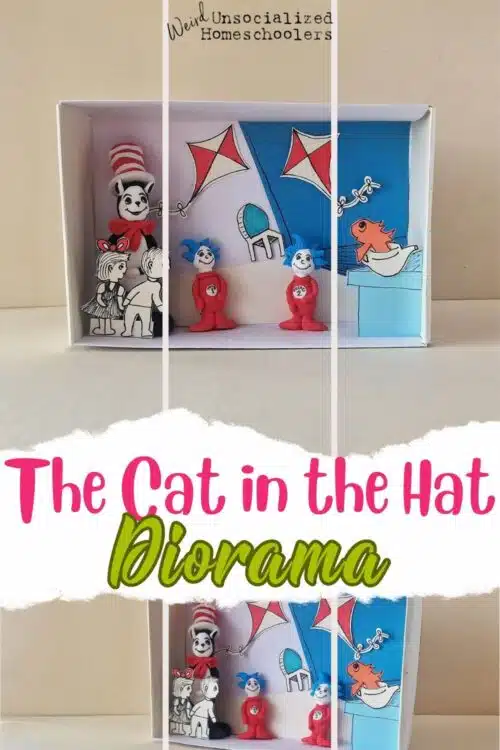
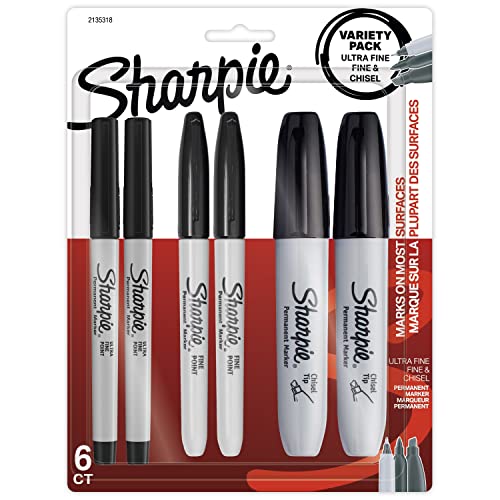
After this, you’ll take a black, fine-point Sharpie and add a few black lines to the dark blue wall, as shown below. This will give an extra layer of dimension to your diorama. Maybe use this to talk to your children about what “perspective” means in art!
Step 6:
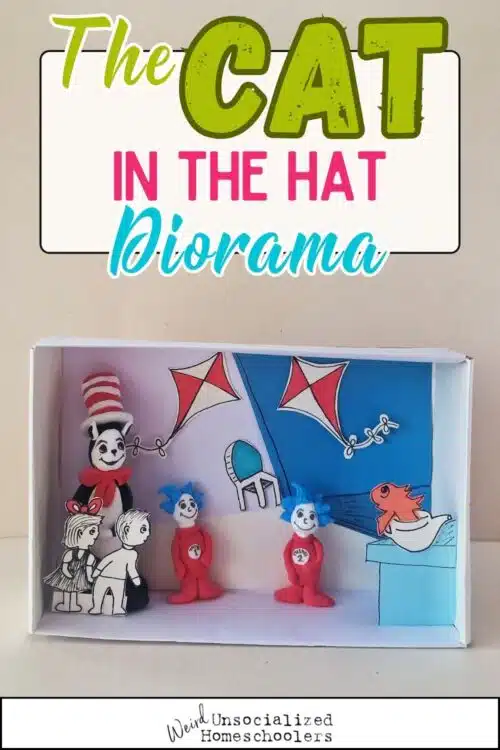
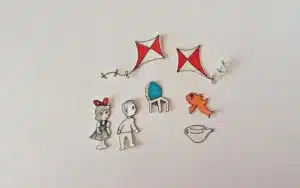
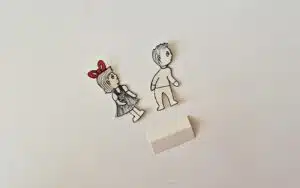
At this point your basic background is done, and now it’s time to personalize your The Cat in the Hat diorama with the characters, decorations, and smaller pieces. Use a black, fine-point Sharpie to add details to the figures shown below. For example, you can see how I’ve added details to the children’s faces and the outfits they are wearing!
Color the fish cutout with an orange Sharpie, and fill in two opposite triangles on each kite cutout with a red Sharpie. Add borders and patterns to each cutout with the black Sharpie to personalize it even more. If you just have regular pens and markers, that will work too. The Sharpies are nice for their bold colors, and they seem to run less.
Step 7:
Take the kites you made and glue them to the back wall of your diorama. I did one on the blue wall and one on the white wall, but you can put them wherever you think looks best!
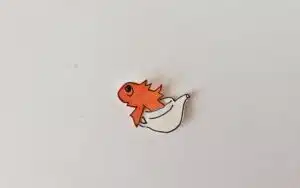
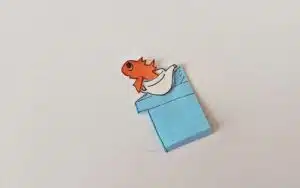
Step 8:
Time to put the fish in his teapot! Use scissors to make a small slit along the top edge of the teapot cutout. Insert the fish’s tail through this slit from above, so it looks like the fish is peeking out. (Probably trying to warn the children not to listen to that Cat in the Hat!)
Step 9:
Take the table cutout (seen below) and use a fine-point black Sharpie to draw its edges and add shading to give it depth.
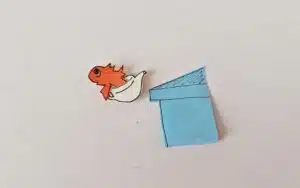
Step 10:
Glue the teapot—with the fish attached—on top of the table cutout. Then fold the bottom of the table back slightly, to create a fold that you can glue to the inside of the box! You may want to glue an extra flap behind the table for the next step.
Step 11:
Use glue to attach the flap(s) of the table and fish inside the diorama box. Put it towards the front. You can even glue the extra flap to the side of the box, like I did.
Step 12:
At this point, you can also add the chair wherever you want as a detail to the background.
Step 13:
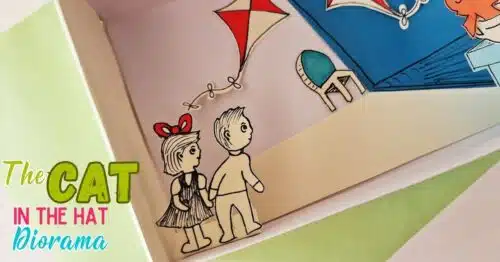
Now it’s time to add the children! Create a small base from thick paper or cardstock for the boy and girl figures to stand up on. Fold this base in half lengthwise.
Step 14:
Attach the feet of the boy and girl figures to the base, positioning and gluing them on one side of the fold.

Step 15:
Glue the bottom edge of the children’s base to the Cat in the Hat diorama. Glue this finished piece down, inside the box. I think either towards the middle or left looks best!
Step 16:
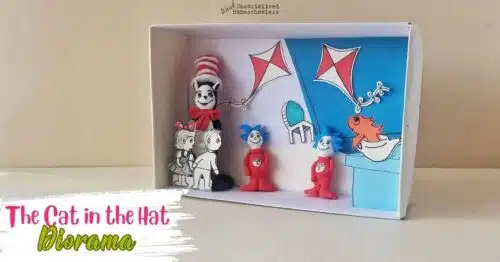
The last step is to add the chaos: AKA the Cat, Thing 1, and Thing 2! I had clay figures to add to mine, but another fun idea here would be to paint some peg-people versions of these characters! This would be another way to add some more hands-on fun to a mini-unit study on Dr. Suess!
This last step will finish bringing your The Cat in the Hat diorama to life! Have fun rearranging the clay or peg pieces around to different places in the diorama, or even using it to act out this scene from the book!

We hope you enjoy this diorama, and some of the other ideas given here, as you celebrate the creativity and whimsy of Dr. Seuss!
What are some ways you celebrate Dr. Suess Day (and month?) Check out this Ultimate List of Dr. Seuss Activities for more ideas!