


The Garden Lab: Gardening with Kids
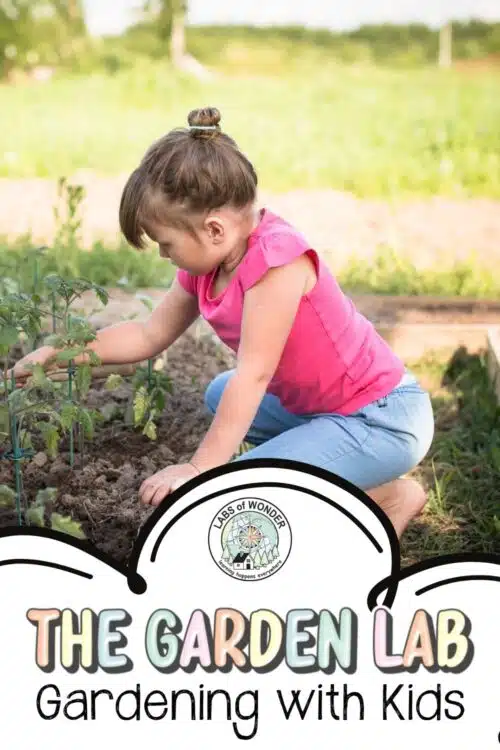
Learning Leads to More Learning
If you’ve never read The Secret Garden by Frances Hodgson Burnett, I highly recommend it for all children and parents. It is such a beautiful book about imagination, friendship, and the transformative power of caring for something beyond yourself. As Mary tends to the garden and learns about friendship, her heart and mind bloom in return. (Be sure not to miss the free Garden Unit Study and Lab workbook at the bottom of this article.)
It’s also a story that quietly asks a bigger question: what happens when you care for something long enough to watch it change?
I read this book with my daughter recently, and it prompted some wonderful discussions about responsibility and caring for things. It also made her desperately want to start a flower garden of her very own. Naturally, that led to a new question that has been weaving in and out of our homeschool: Can we start a spring garden?
Ultimately, her learning experience in literature is what began this journey of family learning as we embark on a spring vegetable and flower garden. As often is the case in the homeschool life, learning leads to more learning. But this time, instead of just learning about something… we’re stepping into it and watching what actually happens.
For a bit of background, mama (hello, that’s me) is not a gardener. I have a deep appreciation for growing things, but the process itself is new to me. However, between my daughter’s desire to care for a flower garden, the fact that my husband and I have long talked about starting a vegetable garden, and the access we have to a wide variety of organic and heirloom seeds from Azure Standard, we decided to go for it this year and document the process. Which also means we’re not coming into this with all the answers; we’re figuring it out as we go.
My husband does know about gardening, so he has volunteered to help get the kids and me started. And while he has grown some things “around me” before, I just never tried to learn for myself. This time, I’m paying attention to what’s actually working and what isn’t.
So this is what gardening with kids looks like for us right now, learning it together from the ground up. Watching what works, what doesn’t, and what changes along the way.
This article is meant to offer a total beginner’s guide to starting a spring garden in your homeschool. I’m sharing everything I’m learning as we go. I hope it helps you start your own garden with your children and see what happens. We can do this!
Somewhere along the way, it became our Garden Lab. We didn’t set out to create a lab, but that’s exactly what happens when you follow a question and pay attention to what unfolds. It stopped feeling like a project and started feeling like something we were stepping into and experiencing together.

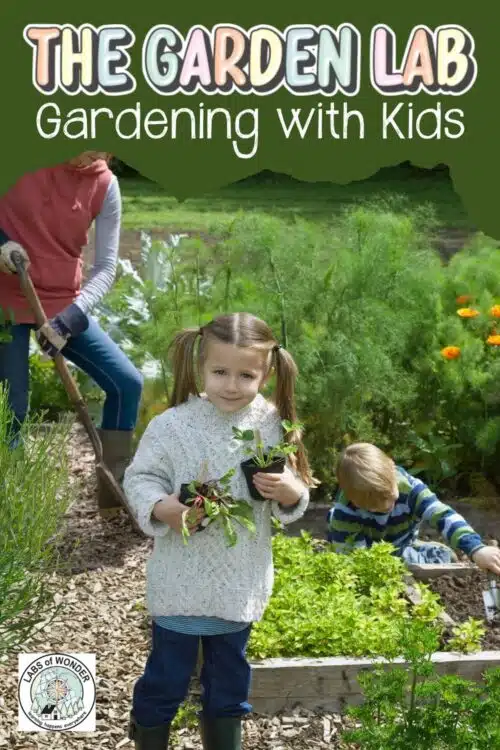
Gardening with Kids in Your Homeschool
Personally, our “book school” is about as full as I care for it to be right now, but my 10-year-old (and 3-year-old) are always learning in other ways, too! And in our homeschool, starting a garden has become one of those ways, something we are doing, noticing, and learning from in real time, whether you treat it as part of your school day or simply as a life skill your kids grow into. (Be sure not to miss the free Garden Unit Study and Lab workbook at the bottom of this article.)
I’ve realized that my 10-year-old’s capacity to learn the ins and outs of actually starting a garden is just as large as mine…if not larger! It’s so much easier to learn new things when you’re young. This is something we can truly learn together while making memories. I’m also excited that it’s something her dad can teach her and that she’ll know how to do as an adult. And honestly, she is noticing things I might have missed if I were doing this on my own.
As I mentioned earlier, we’ve also been focusing on responsibility and faithfulness in the small things in our homeschool, and gardening is such a natural teacher of both. What will work best for us in terms of integrating gardening into our homeschool is making it part of our daily routine. It will likely go on the daily chart we keep in the kitchen (just to make sure we don’t accidentally let everything die.) For my youngest (he’s 3), this will also be a simple and beautiful introduction to how plant life works! I expect this to look different for each child: more practical and detailed for my older one, and more observational and introductory for my toddler.
One thing I do like to do occasionally (for both ages) is bring in fun, hands-on projects that will make whatever we’re learning even more engaging and memorable. Sometimes that means stepping away from the garden for a bit and looking more closely at what’s happening inside the plants themselves.
For example, to go with learning about plant life, I’d be interested in doing something like edible plant cells with my kids! The link above has several ideas for this, including plant cells made out of cake, pizza, candy and even salt dough (this last option is not as delicious, but still fun!). And some days, a worksheet fits real life better! If that’s more your jam, you may want to check out something like this plant life cycle printable.
No matter how you choose to implement a garden in your homeschool, there are many types of skills kids can learn from the process! We didn’t set out to teach all of these, but they’ve shown up anyway as we’ve worked in the garden together.

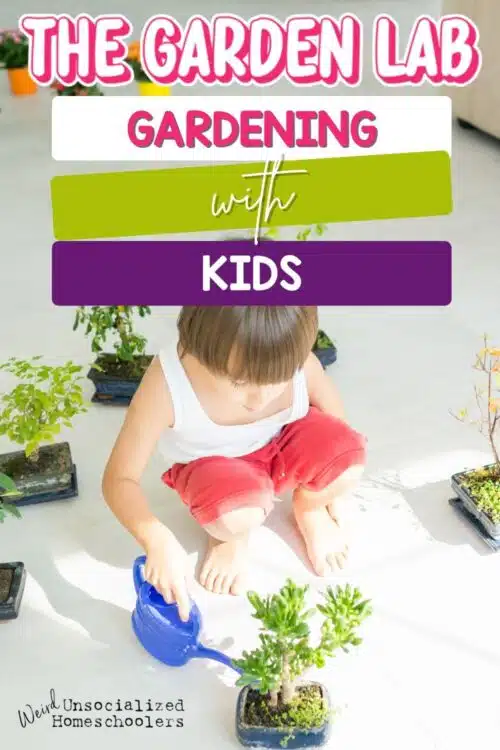
What Kids Learn from Gardening
As we’ve started gardening with our kids, these are the things showing up over and over again:
- Responsibility — plants need consistent care, not just good intentions
- Patience — growth takes time, and you can’t rush it
- Faithfulness in small things — daily watering, checking, tending
- Basic science — sunlight, soil, water, and how plants actually grow
- Observation skills — noticing changes, spotting problems early
- Cause and effect — what happens when you forget… and when you don’t
- Life cycles — seed → sprout → plant → flower/fruit
- Work ethic — showing up even when it’s hot, buggy, or inconvenient
- Stewardship — caring for something living outside of yourself
- Confidence — “I grew this.”
- Nutrition awareness — where food actually comes from
- Family connection — working together toward something shared
Garden Lab: Understanding Your Home Base
Before we decided what seeds to get, we needed to figure out what would actually grow here, so we surveyed our yard, soil, and “hardiness zone.”
Never heard of a hardiness zone? If that’s the case, you must be a beginner like I am (I hadn’t heard of this either.) Apparently, the United States is divided into 13 hardiness zones. These zones are based on average minimum winter temperatures and help gardeners understand what plants are most likely to thrive in their area, year after year. You can go on the USDA website (make this part of the homeschool experience) and enter your zip code to find out more about your own hardiness zone.
In simple terms, knowing your zone tells you: what you can grow, when you can plant, and how long your growing season will be. If you’ve ever wondered why something grows beautifully in one place but struggles in another, this is usually why! Here in South Mississippi, we’re in Zone 8b,and we’re honestly pretty lucky when it comes to gardening. We have a long growing season, mild winters, and the ability to start planting earlier than many parts of the country. The challenge is that heat and humidity arrive quickly and hit hard!
For us, this means timing matters. Starting in early spring isn’t just a nice idea for us. It’s actually really important. If we wait too long, delicate plants can struggle once the intense summer heat sets in.
If you’re just getting started, I definitely recommend finding your hardiness zone as a good place to start!
Garden Lab: Choosing What to Plant
Once you know your zone, the next question is obvious: What should we actually grow?
Taking your zone into account, do some research on what plants would be best to start in early spring in your area. If you’re new to all of this (like I am), the best approach may be to start simple and consult a local friend who gardens on what they’ve found easy and fun to grow in their own spring garden. Especially when gardening with children, I also think it’s good to consider plants that will be exciting for them to see begin to grow–either because they are cool-looking, fast-growing, or because you’ve planted a favorite, dinner-time veggie.
For us, we’re trying to begin both a flower garden and a summer vegetable garden, so I wanted to pick vegetables that we cook with a lot and colorful flowers that would excite both my kids.
In your own garden, you might think of:
- A few vegetables your family will actually eat
- Flowers that will grow well in your area, just for beauty and joy
- Plants that are known to be beginner-friendly
As you’re choosing what to plant, you may also want to talk about the different properties and benefits of the herbs, flowers, and vegetables you choose. My husband and I like to talk about this with our kids so that they understand that part of what makes food “good” is exactly what it’s giving to your body, nutrient-wise. We cook at home most of the time, and try to use a lot of veggies…and want to use more! It’ll be that much more exciting if our garden yields!
Garden Lab: Finding the Best Spot
Before planting, we had to decide where our garden would actually work. You’ll want to think about the sunny and shady parts of your hard, of course, if you’ll need to water often and a lot (will the garden hose reach if needed?), as well as where you want your garden to be for appearance and convenience.
Have your Kids Help “Scout it Out.”
If you’re doing a full-sun, summer garden, many of the vegetables and flowers you’ll choose will need 6–8 hours of sunlight a day. Walk your yard and notice:
- Where the sun hits in the morning
- What areas stay bright through the afternoon
- Which spots are mostly shaded
Honestly, this would be a great part of the project to have the kids observe and investigate!
Consider Accessibility
One thing that is very true for us is, “if it’s out of sight, it’s out of mind.” For us, it was important to choose a spot that was manageable, in reach of the garden hose, and easy to see and remember.
My daughter originally wanted her flower garden somewhere “secret,” because of the book that started this whole thing! However, we had to find a different location because all of the nooks and crannies on our property were just too dark. However, we decided that a place in our yard we could see from the living room window would bring everyone joy once her flowers start blooming, and that was an important consideration, too!
All things considered, think about what will make gardening work best for you. What will help your plants get the light they need, be in a convenient spot for watering, and remind you to take care of them?
Choose Container, Ground, or Raised Bed
When planning our garden, one of the first practical decisions we had to make was how we would plant: in containers, raised beds, or directly in the ground. Each option has its own strengths, and the “right” choice really depends on your space, time, and experience level.
Containers are wonderful for beginners or smaller spaces. They’re low-commitment, easy to manage, and ideal if you don’t have a large yard. They also allow you to start with good-quality soil right away without needing to work or amend existing ground, though they do require more frequent watering.
Raised beds offer a nice middle ground: better soil control, fewer weeds, and a more organized feel, which can be especially helpful when gardening with kids. They do take a bit more setup, but they’re often one of the most rewarding options long-term.
In-ground gardens are the most traditional and budget-friendly, making them ideal if you have the space and want to grow more, but they can require more effort upfront with soil prep and weed control.
For us, this is less about choosing the “perfect” method and more about choosing what feels manageable for this season…an experience we can learn from and build on, later! For that goal, we opted to start with a container garden for our vegetables and a raised bed for our flowers.
The containers for the vegetables were really a choice we made to learn, get the kids involved, and encourage success. For the flowers, my daughter really wanted them actually in the ground, and we found a perfect sunny spot and selected flowers that should thrive there. We will have to clear the area and build up the soil before planting, however.
If we have success with the vegetables this year, I feel like I would have more confidence in attempting a raised bed, next year!
Bringing It Back to Homeschool
This is where gardening really shines as part of your homeschool. With my 10-year-old, this has turned into real conversations about why some plants grow well in our area, and others do not, how different regions grow different foods, the nutritional benefits of what we might grow, and how to plan and care for a garden.
With my 3-year-old, it’s obviously much more simple, but this “getting started” part can involve talking about what plants need: “Plants need good soil, sun, and water.” It also involves talking about vegetables, flowers, how they grow, and later, showing him how to plant a seed and water the new, growing things.
For both of them, and for myself, this will also be a lesson in patience and consistency and – I hope – a new family rhythm we can all enjoy.
The Azure Haul: Why These Seeds?
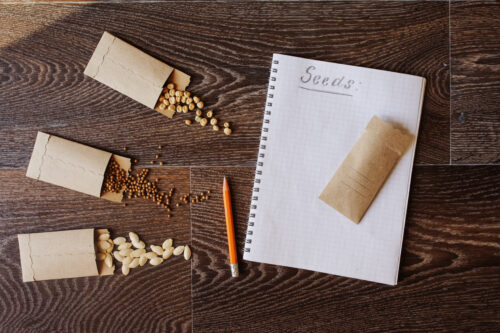
We decided to order all of the seeds for our new garden from Azure Standard, and honestly, this was the part where it all started to feel real.
There’s something different about actually opening the seeds, looking through what you chose, and talking through why you picked each one.
So we filmed that part of the process too.
In this video, I’m sharing what we ordered from Azure, why we chose these particular seeds, and how we’re thinking through this first season of our Garden Unit Study and Lab.
We decided to order all of the seeds for our new garden from Azure Standard, a family-owned company that provides organic, non-GMO foods and farm goods through a unique delivery system that brings products directly to local drop points across the country. They have a decades-long history in the world of organic farming and growing things. Since we wanted to use organic seeds as well, and since we regularly use Azure for other things in our home, it made sense to get our seeds from this cool company!
We’ve been using Azure for several months now for organic pantry staples. There’s something really reassuring about ordering from a company that not only sells food, but has a long history of growing it.
Another benefit of ordering gardening supplies from Azure is the variety of options. They offer so many practical, beautiful, and unique options– many of them are well-suited to growing in our region. Ordering online also made the process incredibly simple to research what we wanted, choose exactly what fit our needs, and add it to our regular delivery (no decision overwhelm like I know I would experience in Lowes.)
Another big draw for Azure is that they offer a variety of heirloom seeds!
What Are Heirloom Seeds?
Heirloom seeds are varieties that have been passed down for generations, often for 50 years or more. Unlike many modern hybrid seeds, heirloom plants are open-pollinated, which means you can save seeds from your plants and grow them again the next season. In other words, they hold important history and – when well taken care of – they are a gift that keeps on giving.
As someone who loves stories, there’s something really special about that. Heirloom varieties are also often: rich in flavor, well-adapted to specific growing conditions, part of a long agricultural story and tradition. For our homeschool, that adds another layer of meaning. In planting heirloom seeds, we are participating in something that has been handed down over time.
What We Ordered Exactly from Azure:
We tried to keep our first garden simple but also a little bit fun, choosing a mix of vegetables we’ll actually use and flowers that bring beauty (and excitement for the kids).
For My Daughter’s Whimsical, Raised Bed Flower Garden
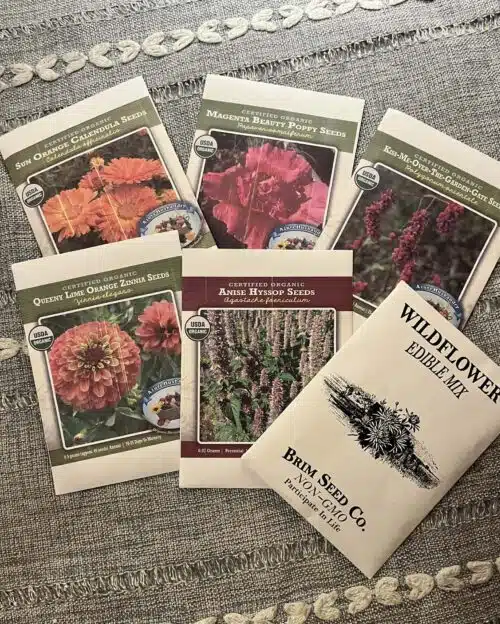
- Anise Hyssop (Organic)
- Kiss-Me-Over-the-Garden-Gate (Organic)
- Sun Orange Calendula (Organic)
- Magenta Beauty Poppy (Organic)
- Queeny Lime Orange Zinnia (Organic)
- Wildflower Edible Mix (Non-GMO)
Our Vegetables for a Spring Container Garden
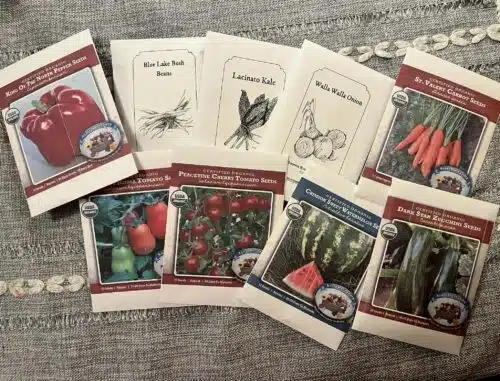
- Dark Star Zucchini (Organic)
- Lacinato Kale (Heirloom)
- Walla Walla Onion (Heirloom)
- St. Valery Carrot (Organic)
- King of the North Pepper (Organic)
- Martino’s Roma Tomato (Organic)
- Peacevine Cherry Tomato (Organic)
- Blue Lake Bush Beans (Heirloom)
- Tendergreen Burpless Cucumber (Organic)
- Crimson Sweet Watermelon (Organic)
Garden Lab: Our First Planting Day
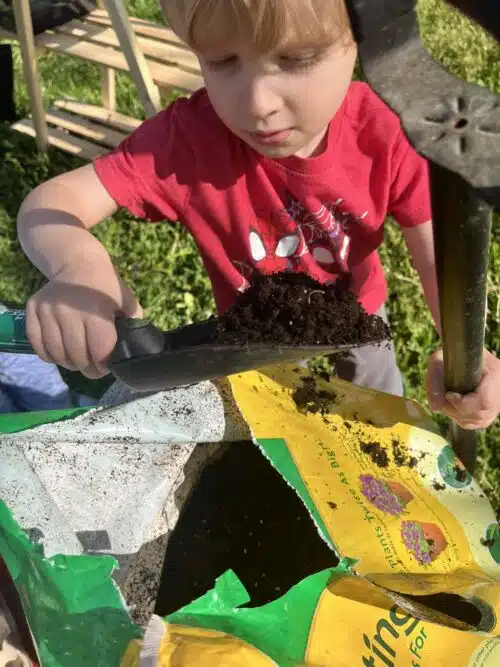
Now that our seeds have arrived, it’s time to put in the work! This week, we got out into the yard and started some of our vegetable seeds. The kids really enjoyed digging into the soil, looking through everything we ordered, and planting the seeds together. There were a lot of opinions, a lot of excitement, and more than a little dirt everywhere. There was already a sense of accomplishment in the air, which definitely provides an incentive to keep going!
Here are a few of the simple materials we used to help get those seeds off to a good start:
Good Quality Soil
Definitely one of the benefits of doing the container garden and starting your seeds off in little “incubators” (which we did) is giving them really good quality soil, so we have plenty of “the good dirt” on hand, which my kids both enjoyed getting their hands into.
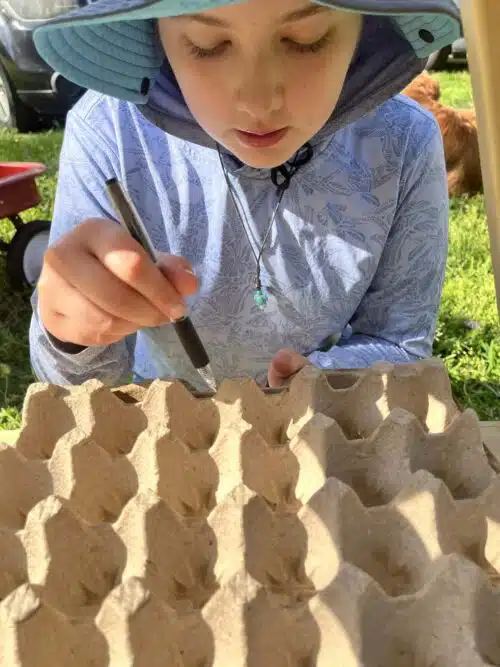
“Upcycled” Egg Cartons
Don’t throw away your cardboard egg cartons! These are biodegradable and perfect for starting tiny seeds. My daughter poked a small hole in each cup to allow for proper drainage when watering, which made it both a practical step and a great hands-on learning moment.
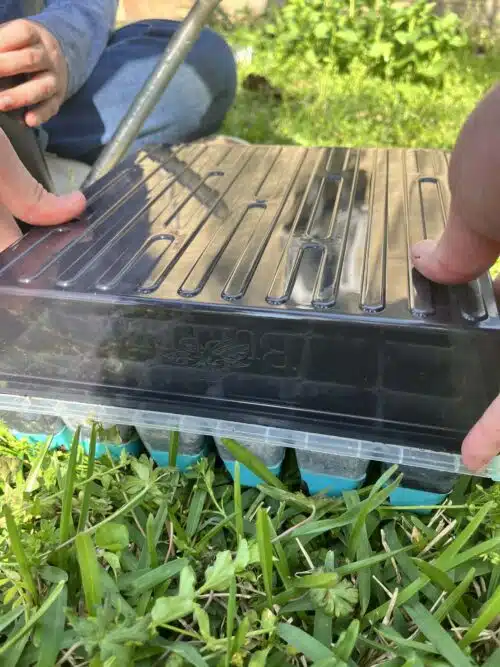
Seed Starting Kits
We also used a seed starting kit with a small “greenhouse” lid. These are especially helpful for beginners because they retain moisture really well and create a consistent environment for germination. The one we chose is reusable, and it’s easy to pop out each section once the seedlings are ready to be transferred.
Felt Pots (Grow Bags)
We’ll be using these for larger plants as they grow. Felt pots are great because they “air prune” roots, which helps prevent them from becoming tangled or root-bound. They’re also lightweight and easy to move. This is something that may be especially important later in the summer when the heat here in South Mississippi really sets in.

We haven’t quite finished preparing the space for our flower garden yet. We had a tree that needed to come down in that area, and now that it’s cleared, we’ll need a little more time to prep the soil and get everything ready… But that’s next on the list!
Garden Lab: The Waiting
We’ve tucked the seeds in, and now we wait for that first bit of green to appear. It’s an exciting time, and some of the things we planted (beans, etc.) sprout quickly. I know my kids will be eagerly awaiting that first sign of life!
This might be the hardest part of the Garden Lab… learning to wait and watch instead of rushing ahead.
Right now, nothing looks different, but something is happening beneath the surface.
Next, we’ll see what actually grows… and what doesn’t.
While we are waiting to see what changes are happening beneath the surface, this is the perfect time to go deeper.

This is where your Garden Lab really begins.
Because this is the part where it’s easy to lose momentum.
When nothing looks different yet.
When it feels like all you can do is wait.
But this is where the real learning is happening.
This is where kids start asking better questions.
This is where they begin to notice patterns.
This is where they start connecting what they did… to what happens next.
That’s exactly why we created the Garden Lab to go alongside what we’re doing.
Not as extra work, but as a way to help kids stay engaged in the process and make sense of what they’re seeing as things grow and change.
Inside the Garden Lab, they’re not just planting and walking away.
They’re tracking what they plant and where, making predictions about what will grow best, recording changes over time, comparing what worked and what didn’t, and beginning to recognize how growth actually works.
It keeps them engaged, even on the days when it looks like nothing is happening yet.
Because this isn’t just about growing plants.
It’s about helping them see what’s happening… and understand why.
You can find the full Garden Lab here: