Parts of a Pumpkin Craft + Activity {Free Printable}
This summer we planted a garden, and I had high hopes of growing our own pumpkins for carving, pies, and pumpkin-themed science investigations. But nature didn’t agree, and our hot, dry Midwestern summer scorched the seedlings and my wonderful “real life” homeschooling plans.
However, flexibility has become my motto of homeschooling with little ones, and the need for a plan B inspired this simple craft and writing project.
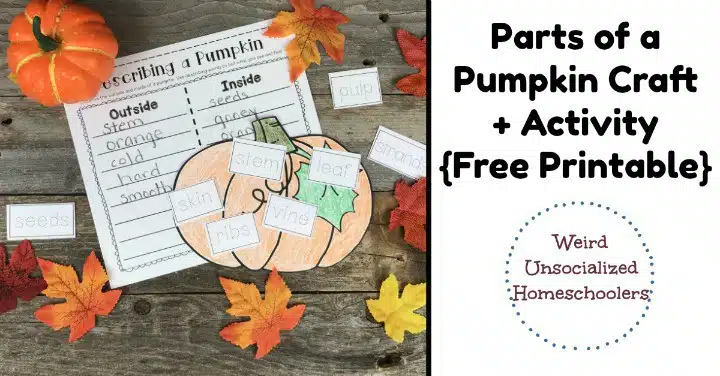
This craft is not only fun and easy, but it also integrates science, writing, art. And it’s simple to adapt for different ages and stages.
Supplies Needed for the Parts of a Pumpkin Craft
- Pumpkin
- Parts of a Pumpkin printable
- White or orange cardstock (or paper)
- Crayons, pencil
- Scissors
- A piece of yarn or string
- Glue (liquid or glue stick)
- Stapler (optional)
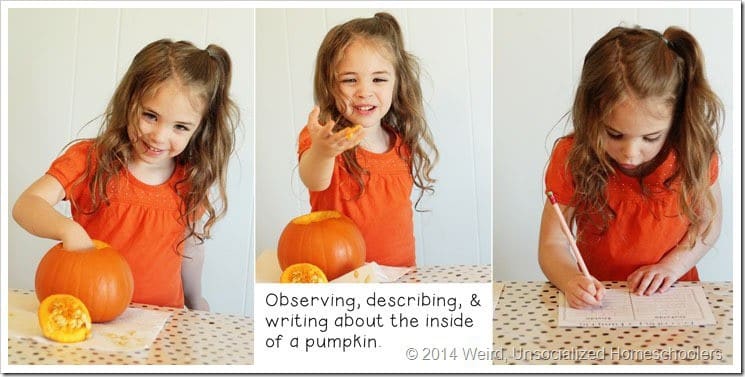
Step 1: Observing, Describing, and Writing
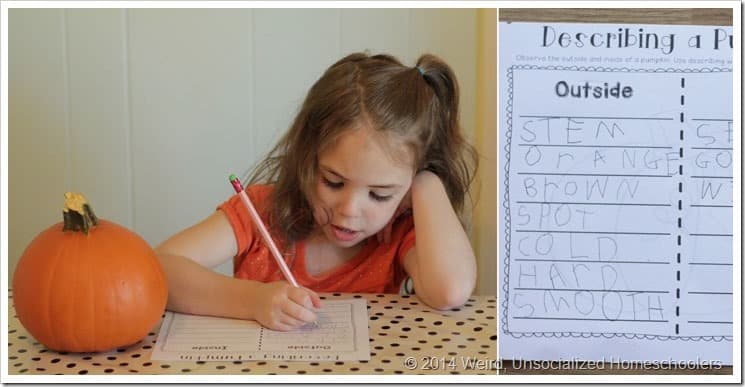
First, spend some time looking at the details on the outside of a pumpkin with your child. Talk about the color, texture, and shape.
Make a list of the features on the Describing a Pumpkin sheet (included in the free printable download).
Depending on the age of your children, this would be an ideal opportunity to sneak in a little grammar lesson and talk about using strong adjectives to describe the noun (pumpkin).
Then, cut into the pumpkin so you can observe and write about the inside.
Step 2: Coloring, Cutting, and Gluing
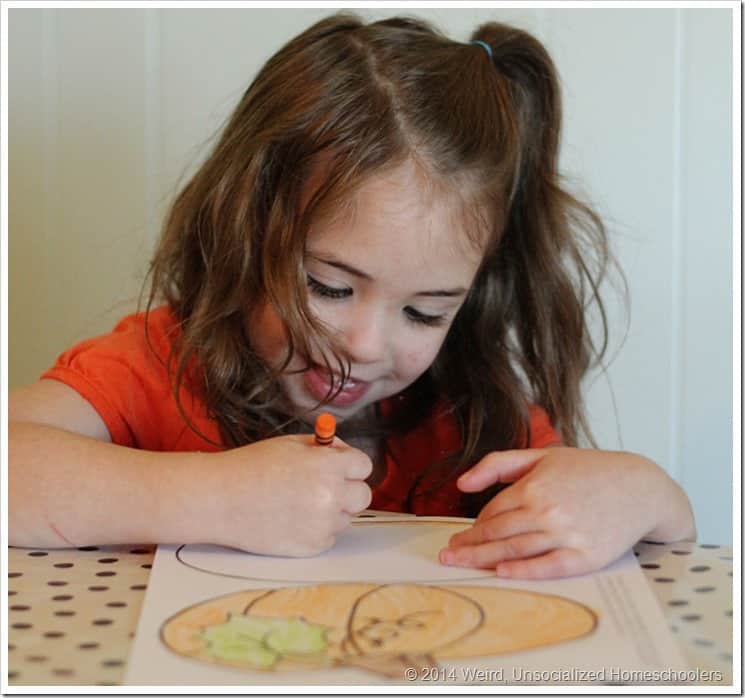
After you finish observing, describing, and writing, let your kids color the pumpkins from the printable set while you dry off some of the pumpkin seeds for the second part of the project.
My kids love to color, so I printed the pumpkins on white cardstock, but you could easily skip this step by printing them on orange paper.
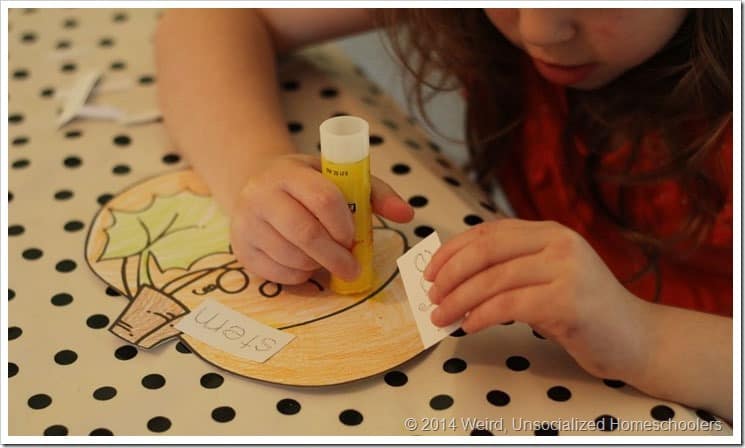
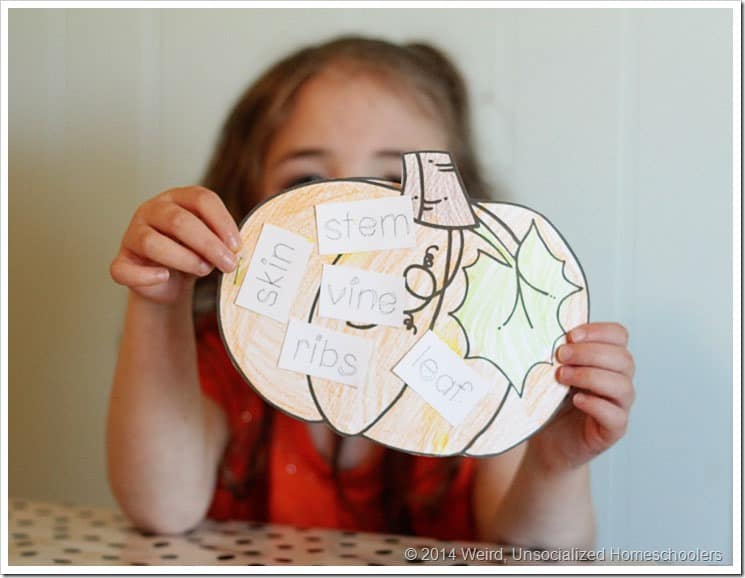
Next, cut out the pumpkin pieces, trace the pumpkin part words, and cut out the labels. Then, name the parts of the outside of the pumpkin by gluing labels on each.
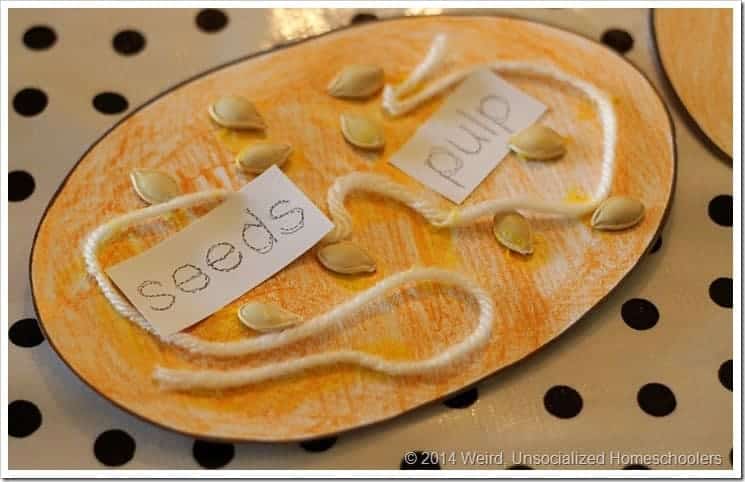
Next, glue the dry pumpkin seeds and a piece of yarn to the oval piece of the Pumpkin Parts printable to recreate the inside of the pumpkin. Finish by adding the part labels to the inside of the pumpkin craft.
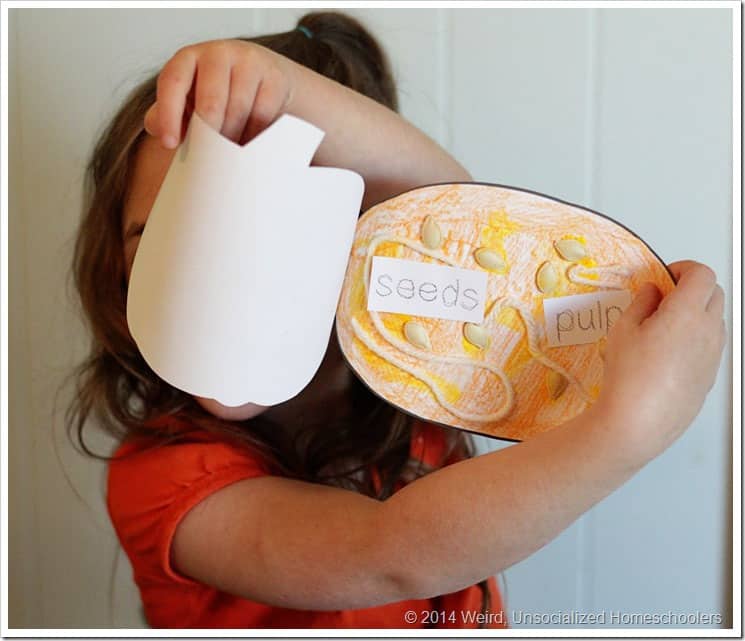
My five-year-old is really into making books and cards lately, so we finished our craft by turning it into a book. We stacked the outside of the pumpkin on top of the inside of the pumpkin and stapled them together along the left side.
Have you done any fun, hands-on fall crafts lately? Feel free to share your links in the comments!
>>Download your free Parts of a Pumpkin craft + activity!
You Might Also Like

This article was written by a Weird, Unsocialized Homeschoolers guest author. See the author's full bio in the body of the post.


Pumpkin parts paper was awesome! What a great way to learn about one of God’s great Fall creations!!! thank you for sharing! can’t wait to do this in my classroom of 12 this year! Thank you!
So glad this project will help in your own teaching!
xoxo
i taught 4-year old Pre-School and LD grades 2-8 at a Christian School eons ago. This is the type of craft/science lesson that i would have used back then! My daughter teaches Sunday School, and i KNOW she will love this project. Children learn best when most of the senses are involved in the learning process. This activity meets the criteria! Kudos… a good teacher follows the textbook. An EXCELLENT teacher know how children learn and involves as many of their senses as possible in the classroom experience. You must have been an excellent teacher!
Thank you, Jayleigh. Your kind comment means a lot to me. I hope your daughter can find a use for this project in her own teaching!
xoxo