

DIY Glass Gem Magnets for Refrigerator Art

* This post may contain affiliate links or sponsored content. *
The odds are good that many (most?) homeschool families use their refrigerators as art galleries. Artwork, craft projects, and special mementos are stuck to the fridge for proud display. Am I right? This craft project is a fun way for our kids to create their own DIY Gem Magnets to use to display their artwork or photos on the refrigerator.

After all, a special display like that deserves special magnets. What better way to display homemade artwork and family photos than to make homemade magnets? These glass gem magnets are a fun and easy project that the whole family can do together. Even your older kids in middle or high school can enjoy this craft project and really make something unique to use or give as gifts.
A Simple Gift Idea
In fact, if you’re looking for inexpensive gifts to give to Sunday school teachers, friends, or neighbors, you could turn this project into a kit to give so the recipients can enjoy making and displaying their own gem magnets and refrigerator art! Just buy the needed supplies (except for pencils and scissors–which they probably already have) and place them in a box or gift bag along with these printable instructions.
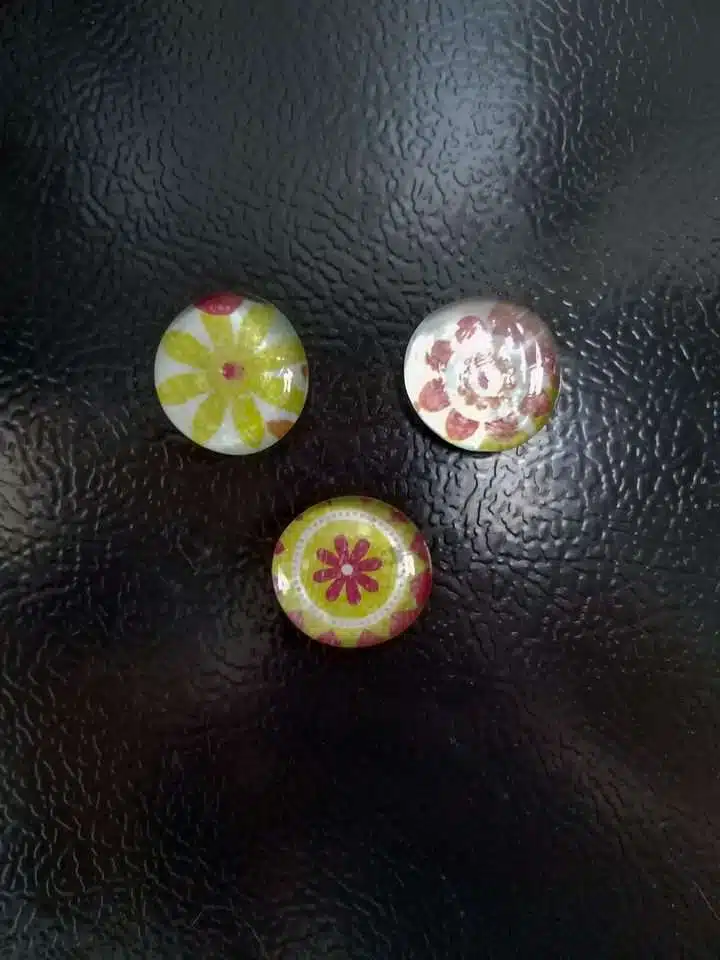
DIY Glass Gem Magnets
Not only are these glass gem magnets fun and easy to make, but they’re also affordable. There aren’t too many supplies required, yet each can be a totally unique design.
Supplies:
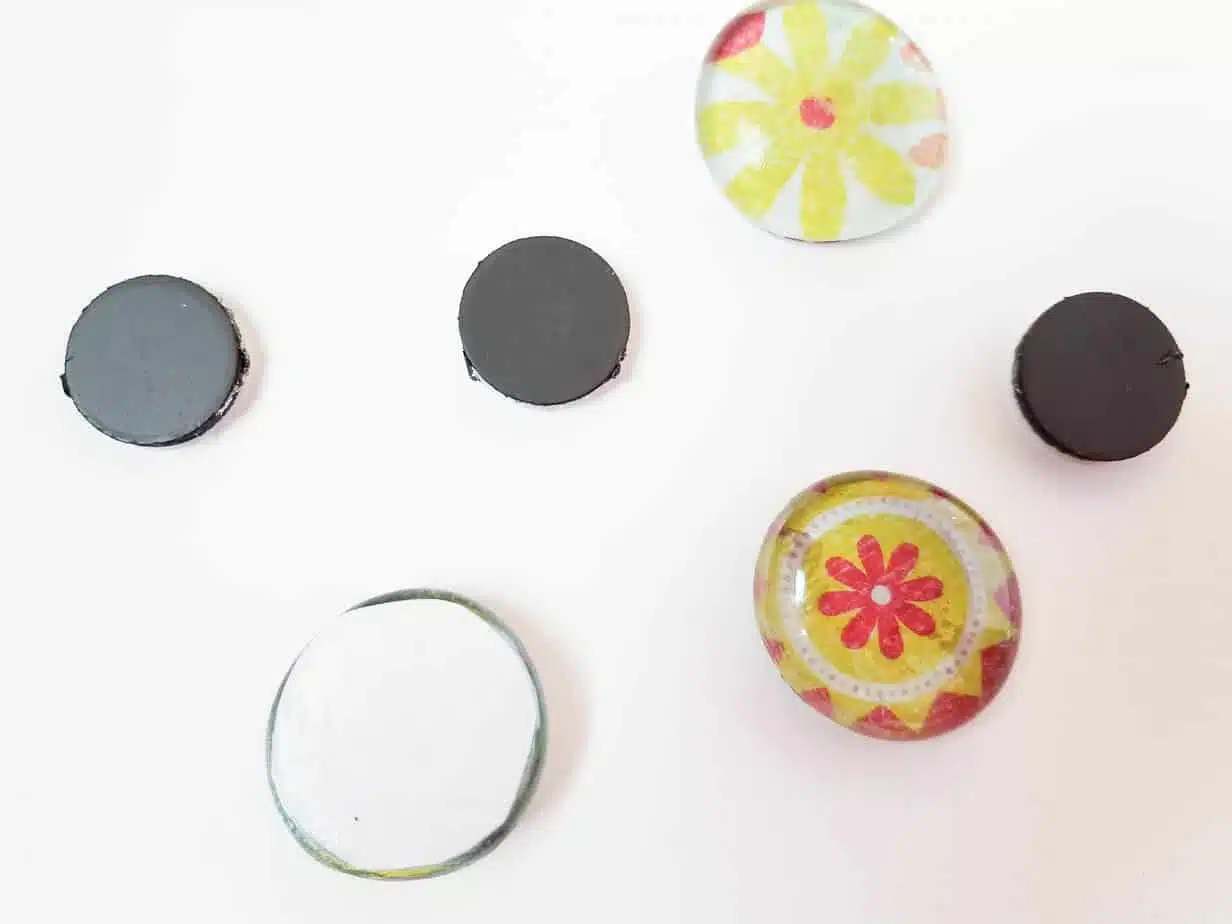
- clear gems with flat bottom
- scrapbooking paper or fancy cardstock
- Mod Podge
- round magnets with adhesive back
- pencil
- scissors
- printable instructions (if giving DIY kit as a gift)
You’ll want to clean off the kitchen table or other flat surface and cover it with parchment paper or newspaper just in case things get a little sticky with the Mod Podge.
For the craft-hesitant folks out there, this really isn’t a messy or complicated project. No glitter required! (Although you could add some if you really wanted to, as my youngest daughter likes to remind me.)
Instructions:
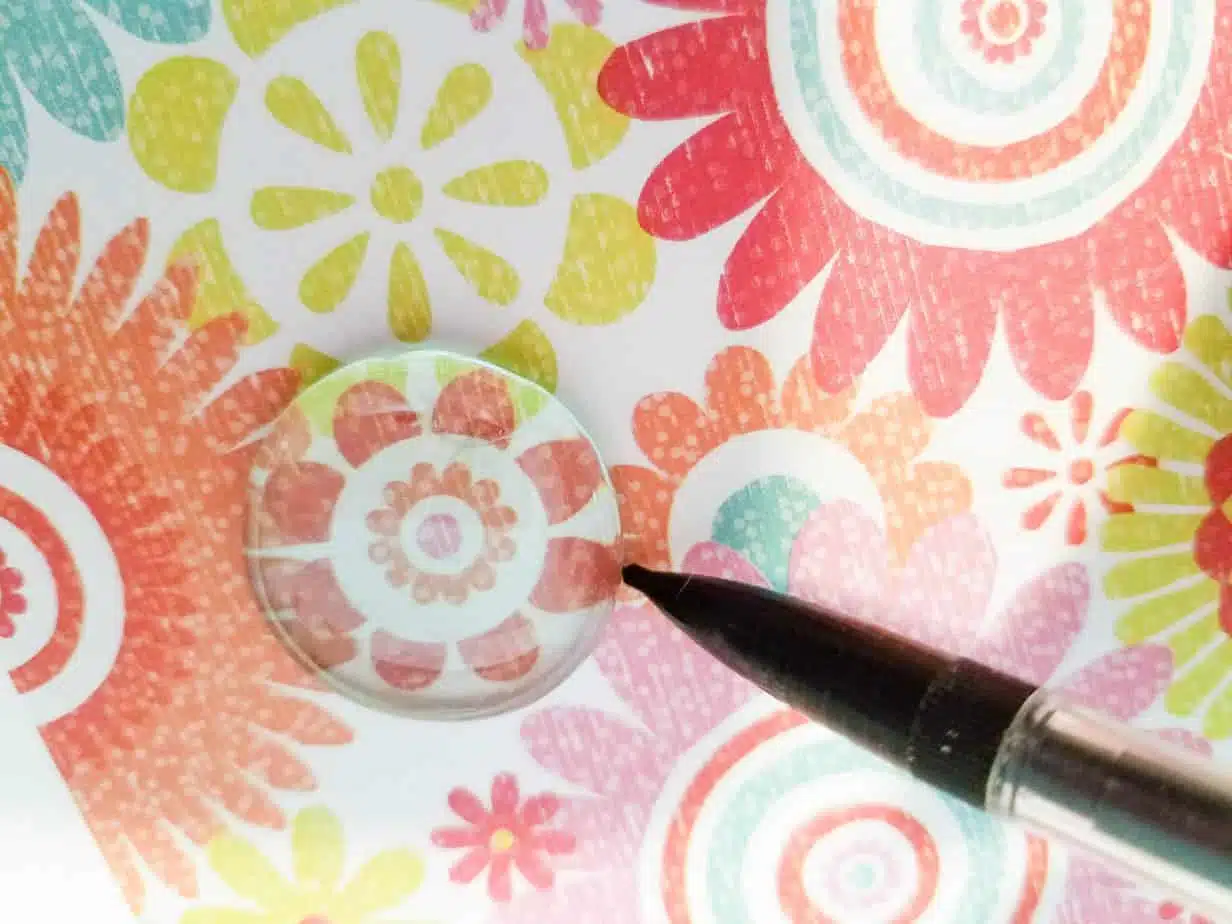
- Place a clear gem on the scrapbook paper, right over the design that you want to show on it.
- Using a pencil, trace the form of the gem.

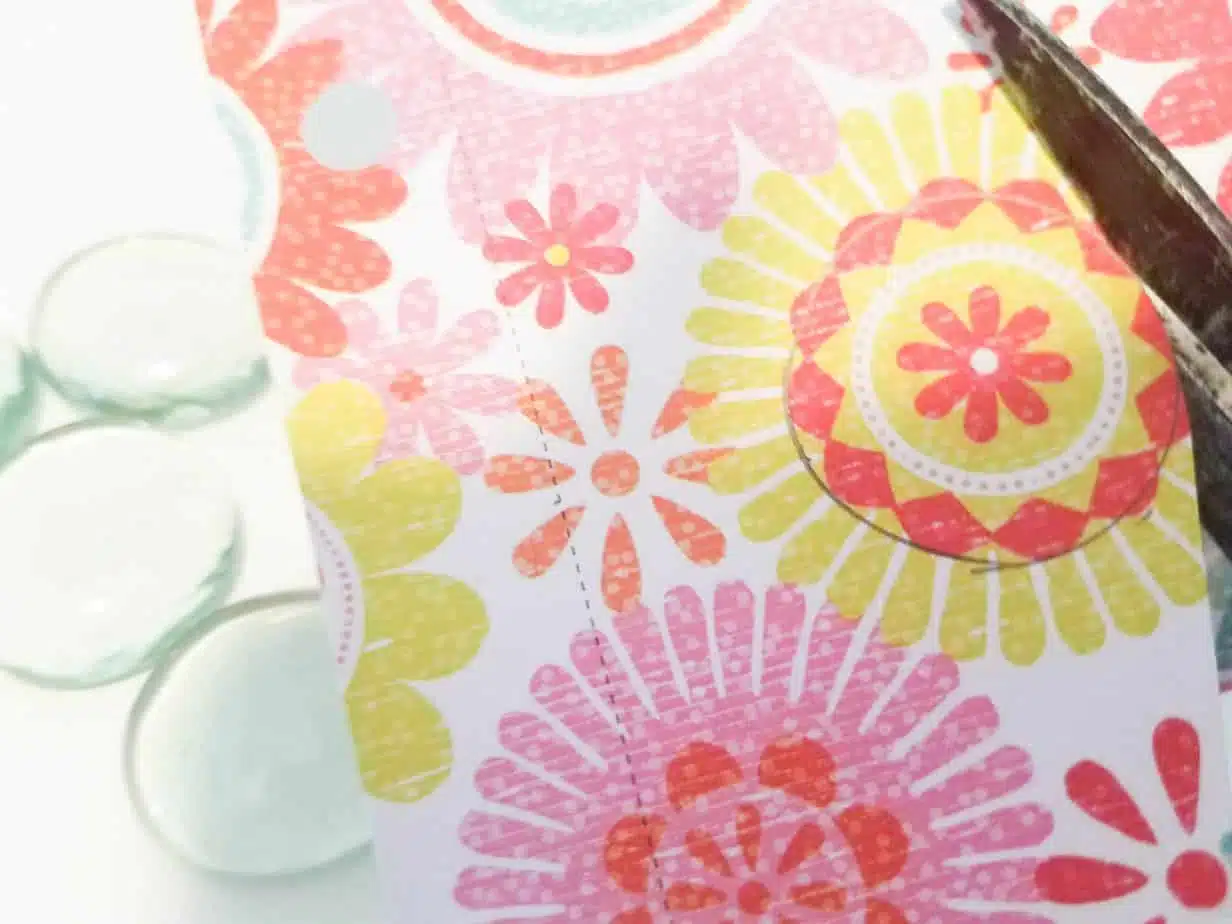
- Cut out the form you traced with the scissors.
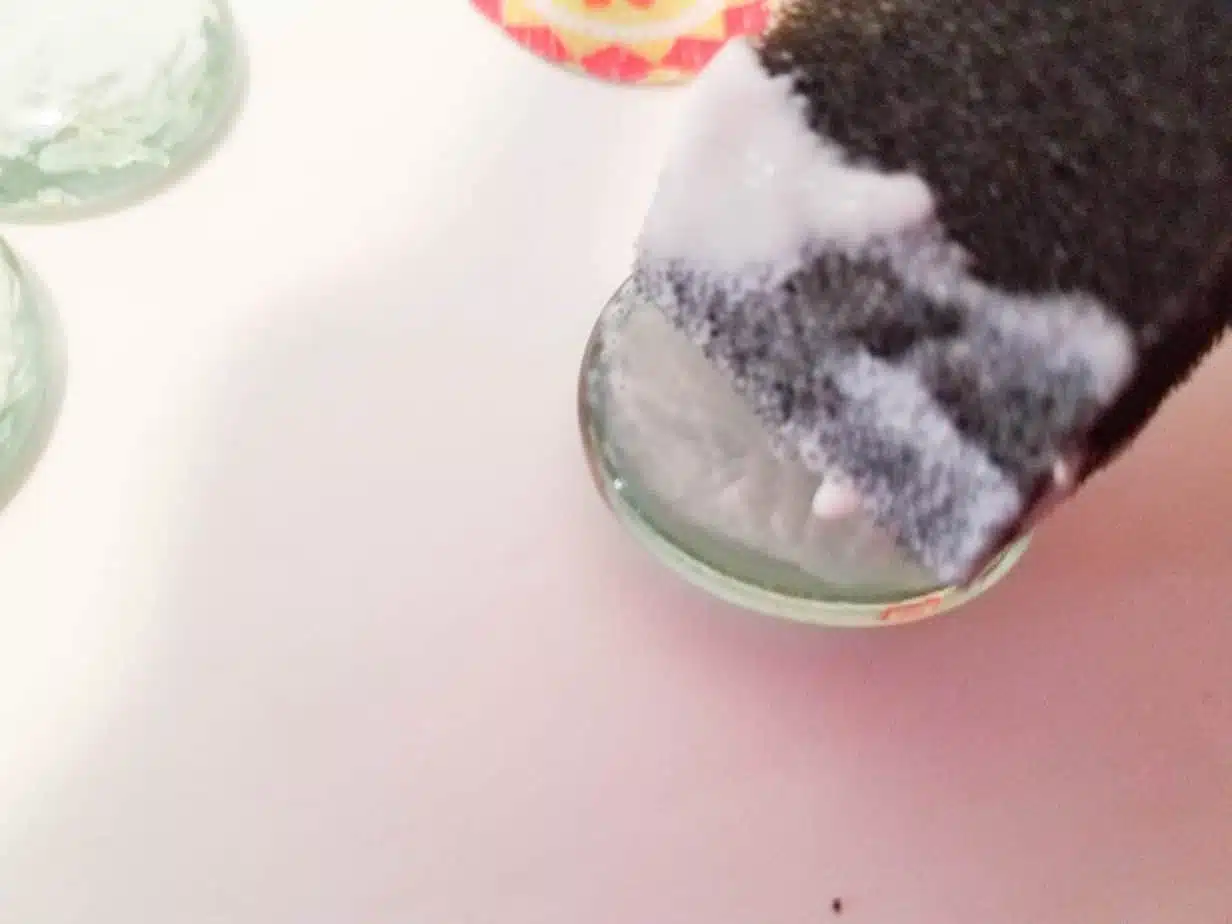
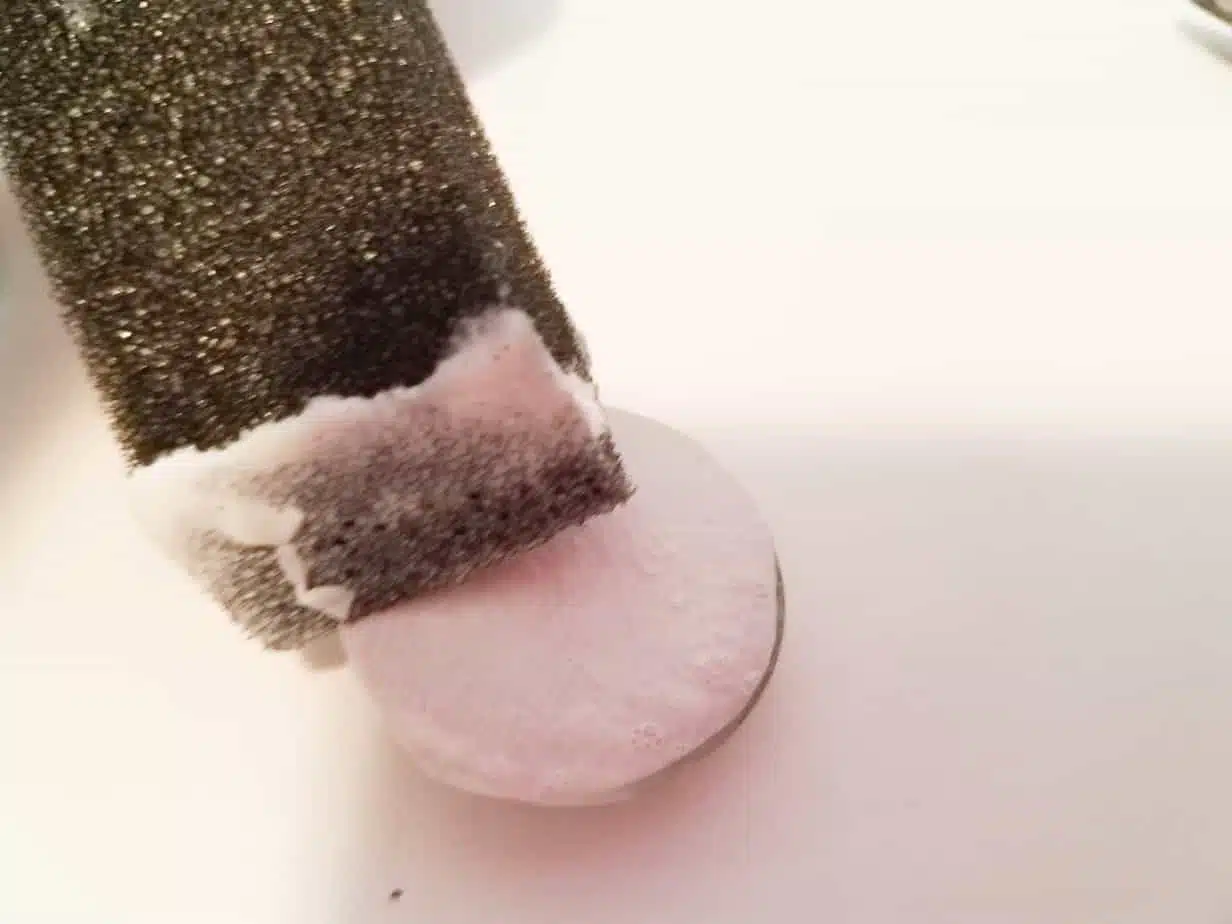
- Apply a coat of Mod Podge to the bottom (flat side) of the gem.
- Place the paper form cut out onto the gem so that the design shows from the top of the gem.
- Apply a layer of Mod Podge over the paper form and let dry.
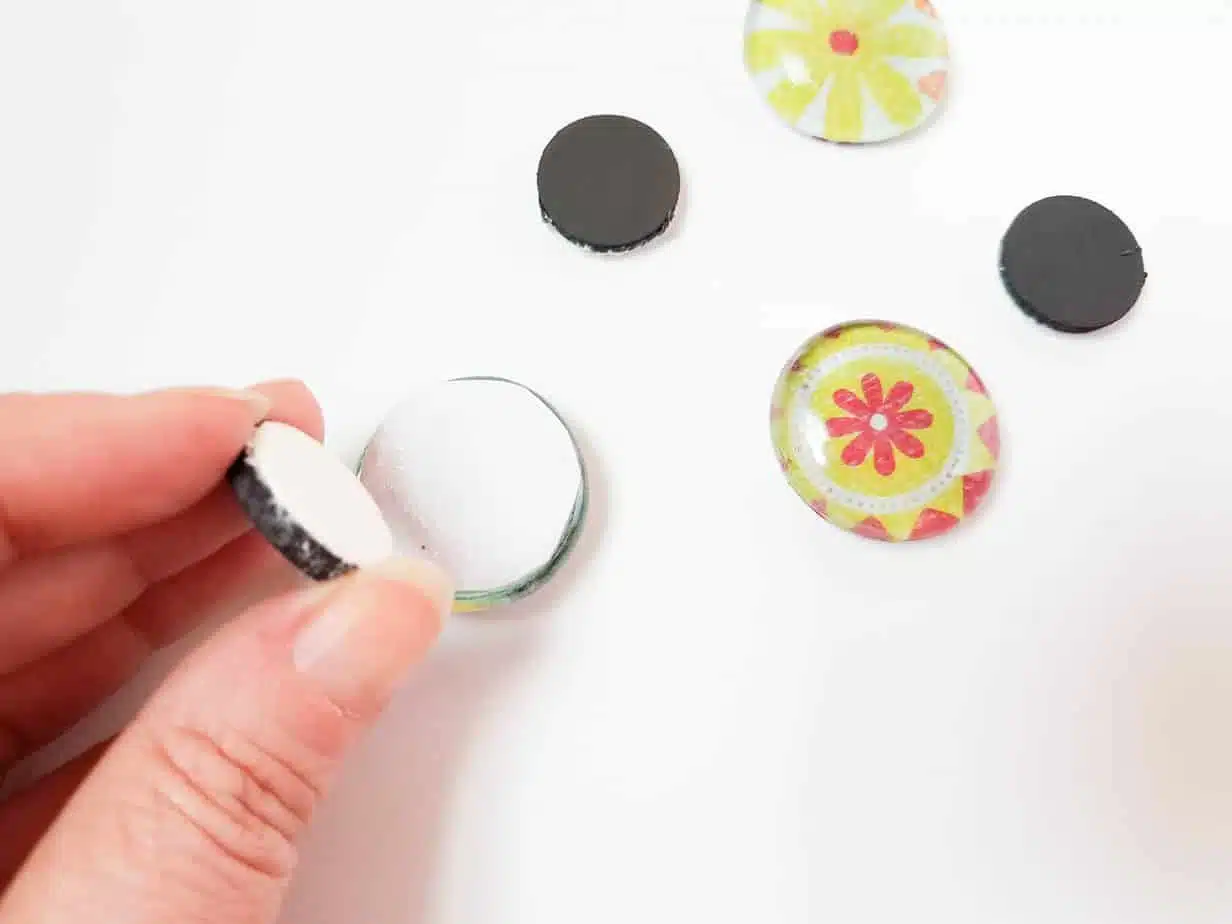
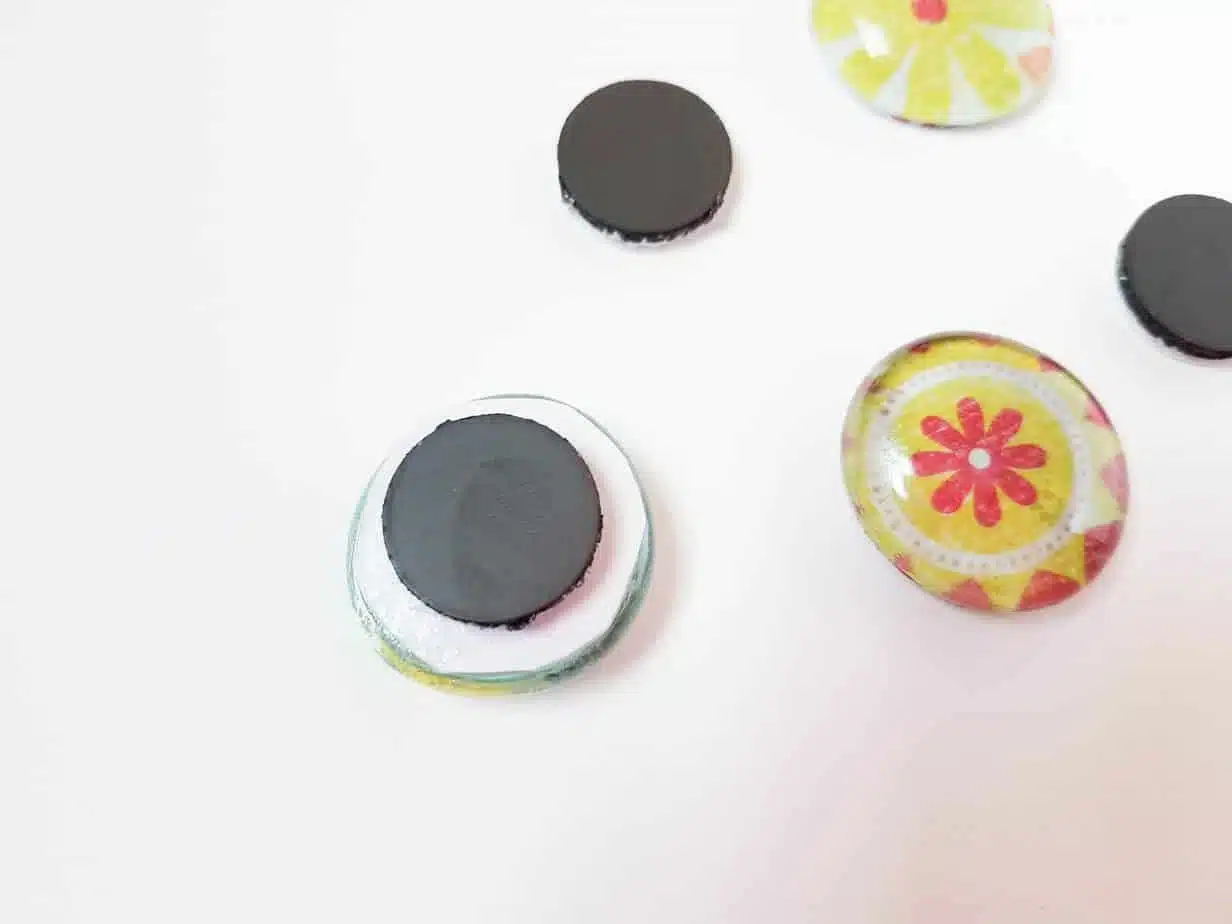
- Remove the backing from the magnet and adhere to the back of the gem.
- Put on the refrigerator or other magnetic surface. That’s it! Enjoy the pretty addition to your decor.

One of the great things about this project is that it can be enjoyed by a wide range of ages. My oldest daughter (19) is very crafty but has trouble finding projects to do with her younger sisters that don’t feel “childish” for her. She liked making these magnets and so did her sisters (11 and 13), so it was a win for everyone. I even made a few with them.
You can have fun choosing different papers for different seasons and to reflect different personal styles or favorite colors. There are many ways to customize it for everyone.
You can use these creative DIY magnets on your fridge, your chalkboard, or your whiteboard. It’s not only a fun homeschool art project, but it’s also practical!
If you and your children enjoy crafting together, try some of the craft ideas listed below. If you don’t already love crafting, maybe some of these will inspire you to give it a try!
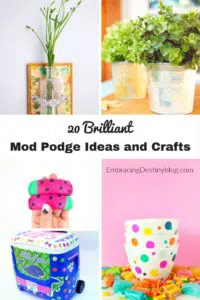
20 Brilliant Mod Podge Crafts and Ideas
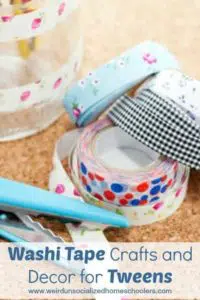
Washi Tape Crafts and Decor for Tweens
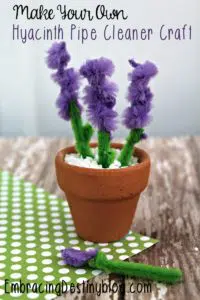
Make Your Own Hyacinth Pipe Cleaner Craft
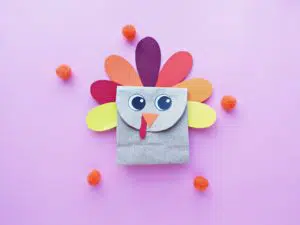
Paper Bag Turkey Craft (Easy and Advanced Options)
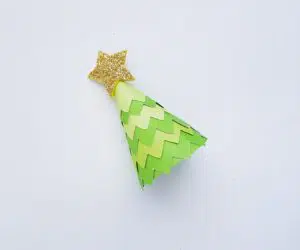
Paper Cone Christmas Tree Craft

Sara Jordan is a homeschooling mom of three creative girls. They believe in literature-rich learning with living books. Relaxed, delight-directed learning is their approach so they follow interests and explore ideas to encourage a lifelong love of learning. Their emphasis is on nurturing creativity, curiosity, character, and connection. Sara is an author/speaker/consultant who loves to inspire other homeschool moms on her blog, Heart and Soul Homeschooling, and with the resources she creates in the Heart and Soul Homeschooling shop. You can find her on Pinterest, Facebook, and Twitter.